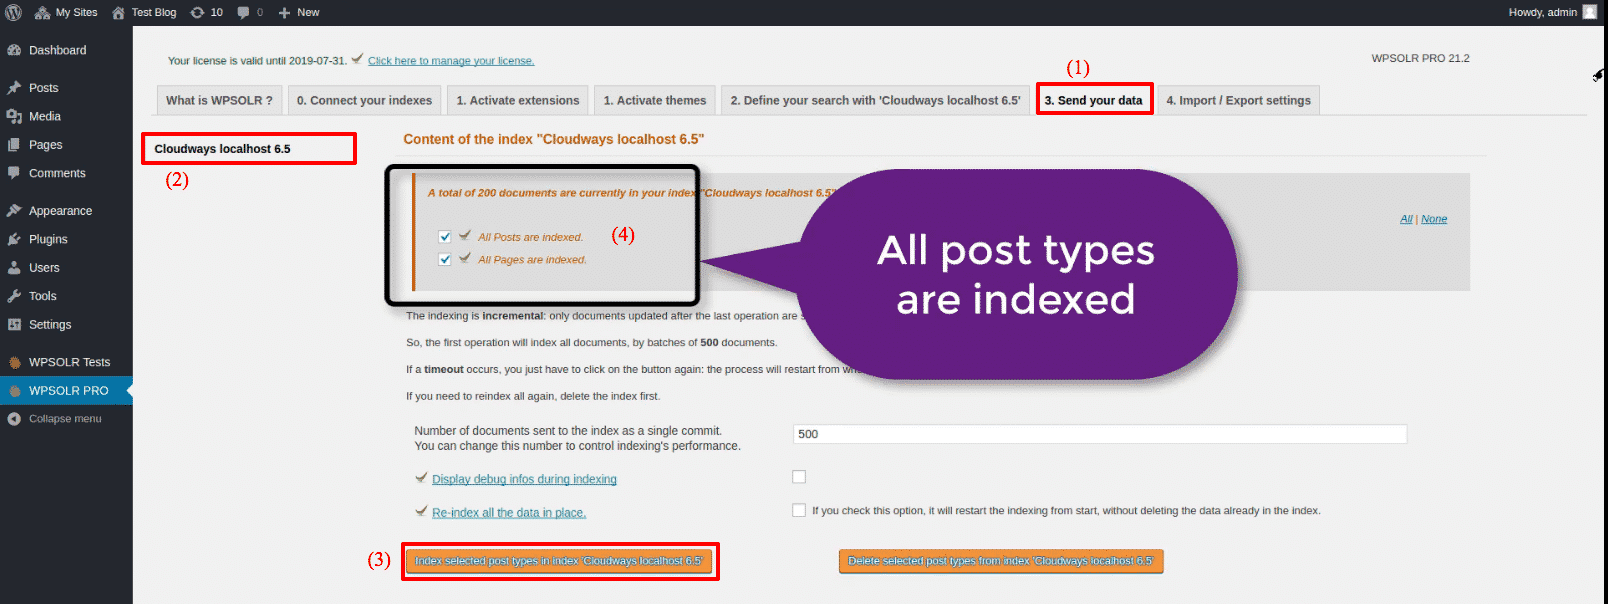

Cloudways Elasticsearch 8.x and Opensearch 2.x can be used with WPSOLR.
Setup WPSOLR and Cloudways
From WPSOLR 21.3.
This video suppose you are hosting your WordPress site at Cloudways.
You will see how to create a Cloudways Elasticsearch or Opensearch index with a few clicks.
What is Cloudways?
Cloudways is a managed cloud hosting platform. It can host WordPress, with a free optional Elasticsearch or Opensearch server. Rather than subscribing to an external Elasticsearch or Opensearch service, you can use the free Elasticsearch or Opensearch service installed with your WordPress server.
Here is the video tutorial:
1 – Signup for a free trial at Cloudways
2 – Navigate to your Cloudways dashboard
3 – Create your first WordPress site
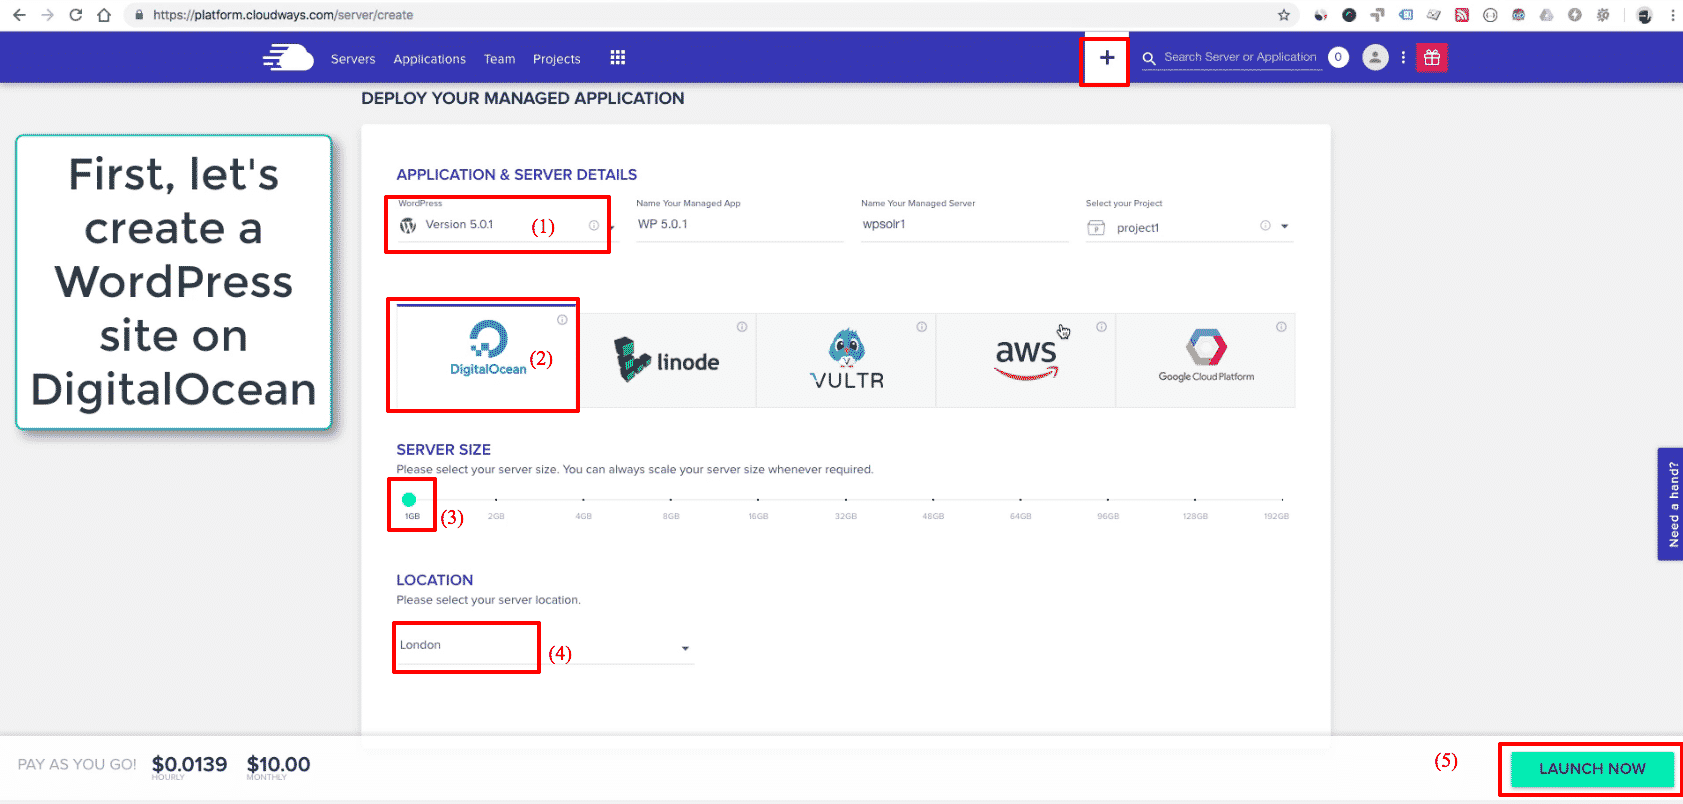
(1) – Select “WordPress” as your application template
(2) Select a Cloud Provider to host your application’s VM (virtual server)
(3) Select the VM initial size
(4) Select a location (depends on your Cloud Provider)
(5) Start the application creation
Wait a few minutes until your WordPress is ready:
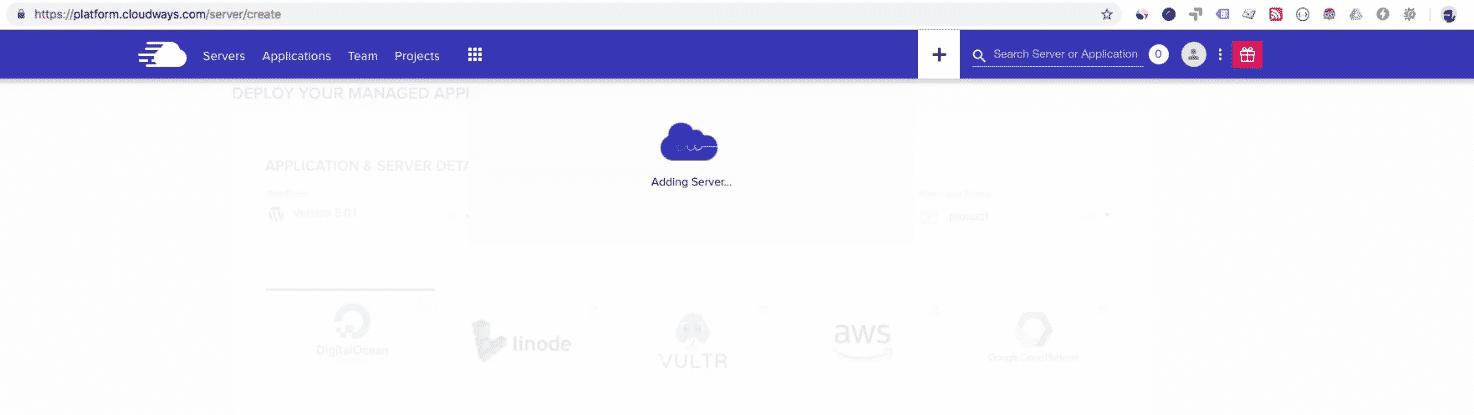
Yep, your WordPress is there:

4 – Activate the Elasticsearch or Opensearch service
4.1 – Your WordPress application is delivered with a pre-built Elasticsearch or Opensearch service, ready to use. You just need to active the service in the server settings.
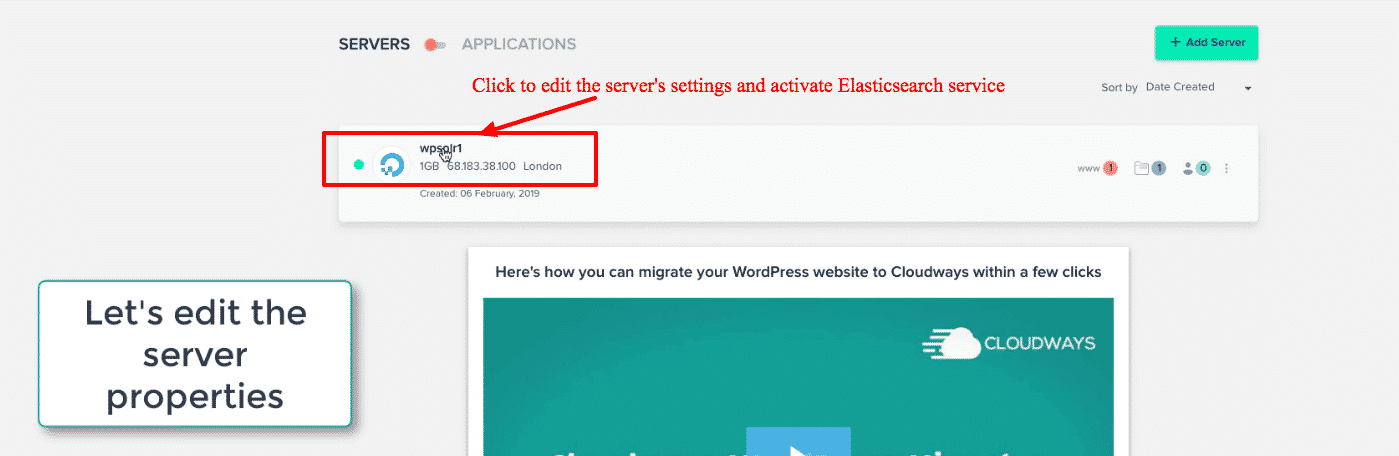
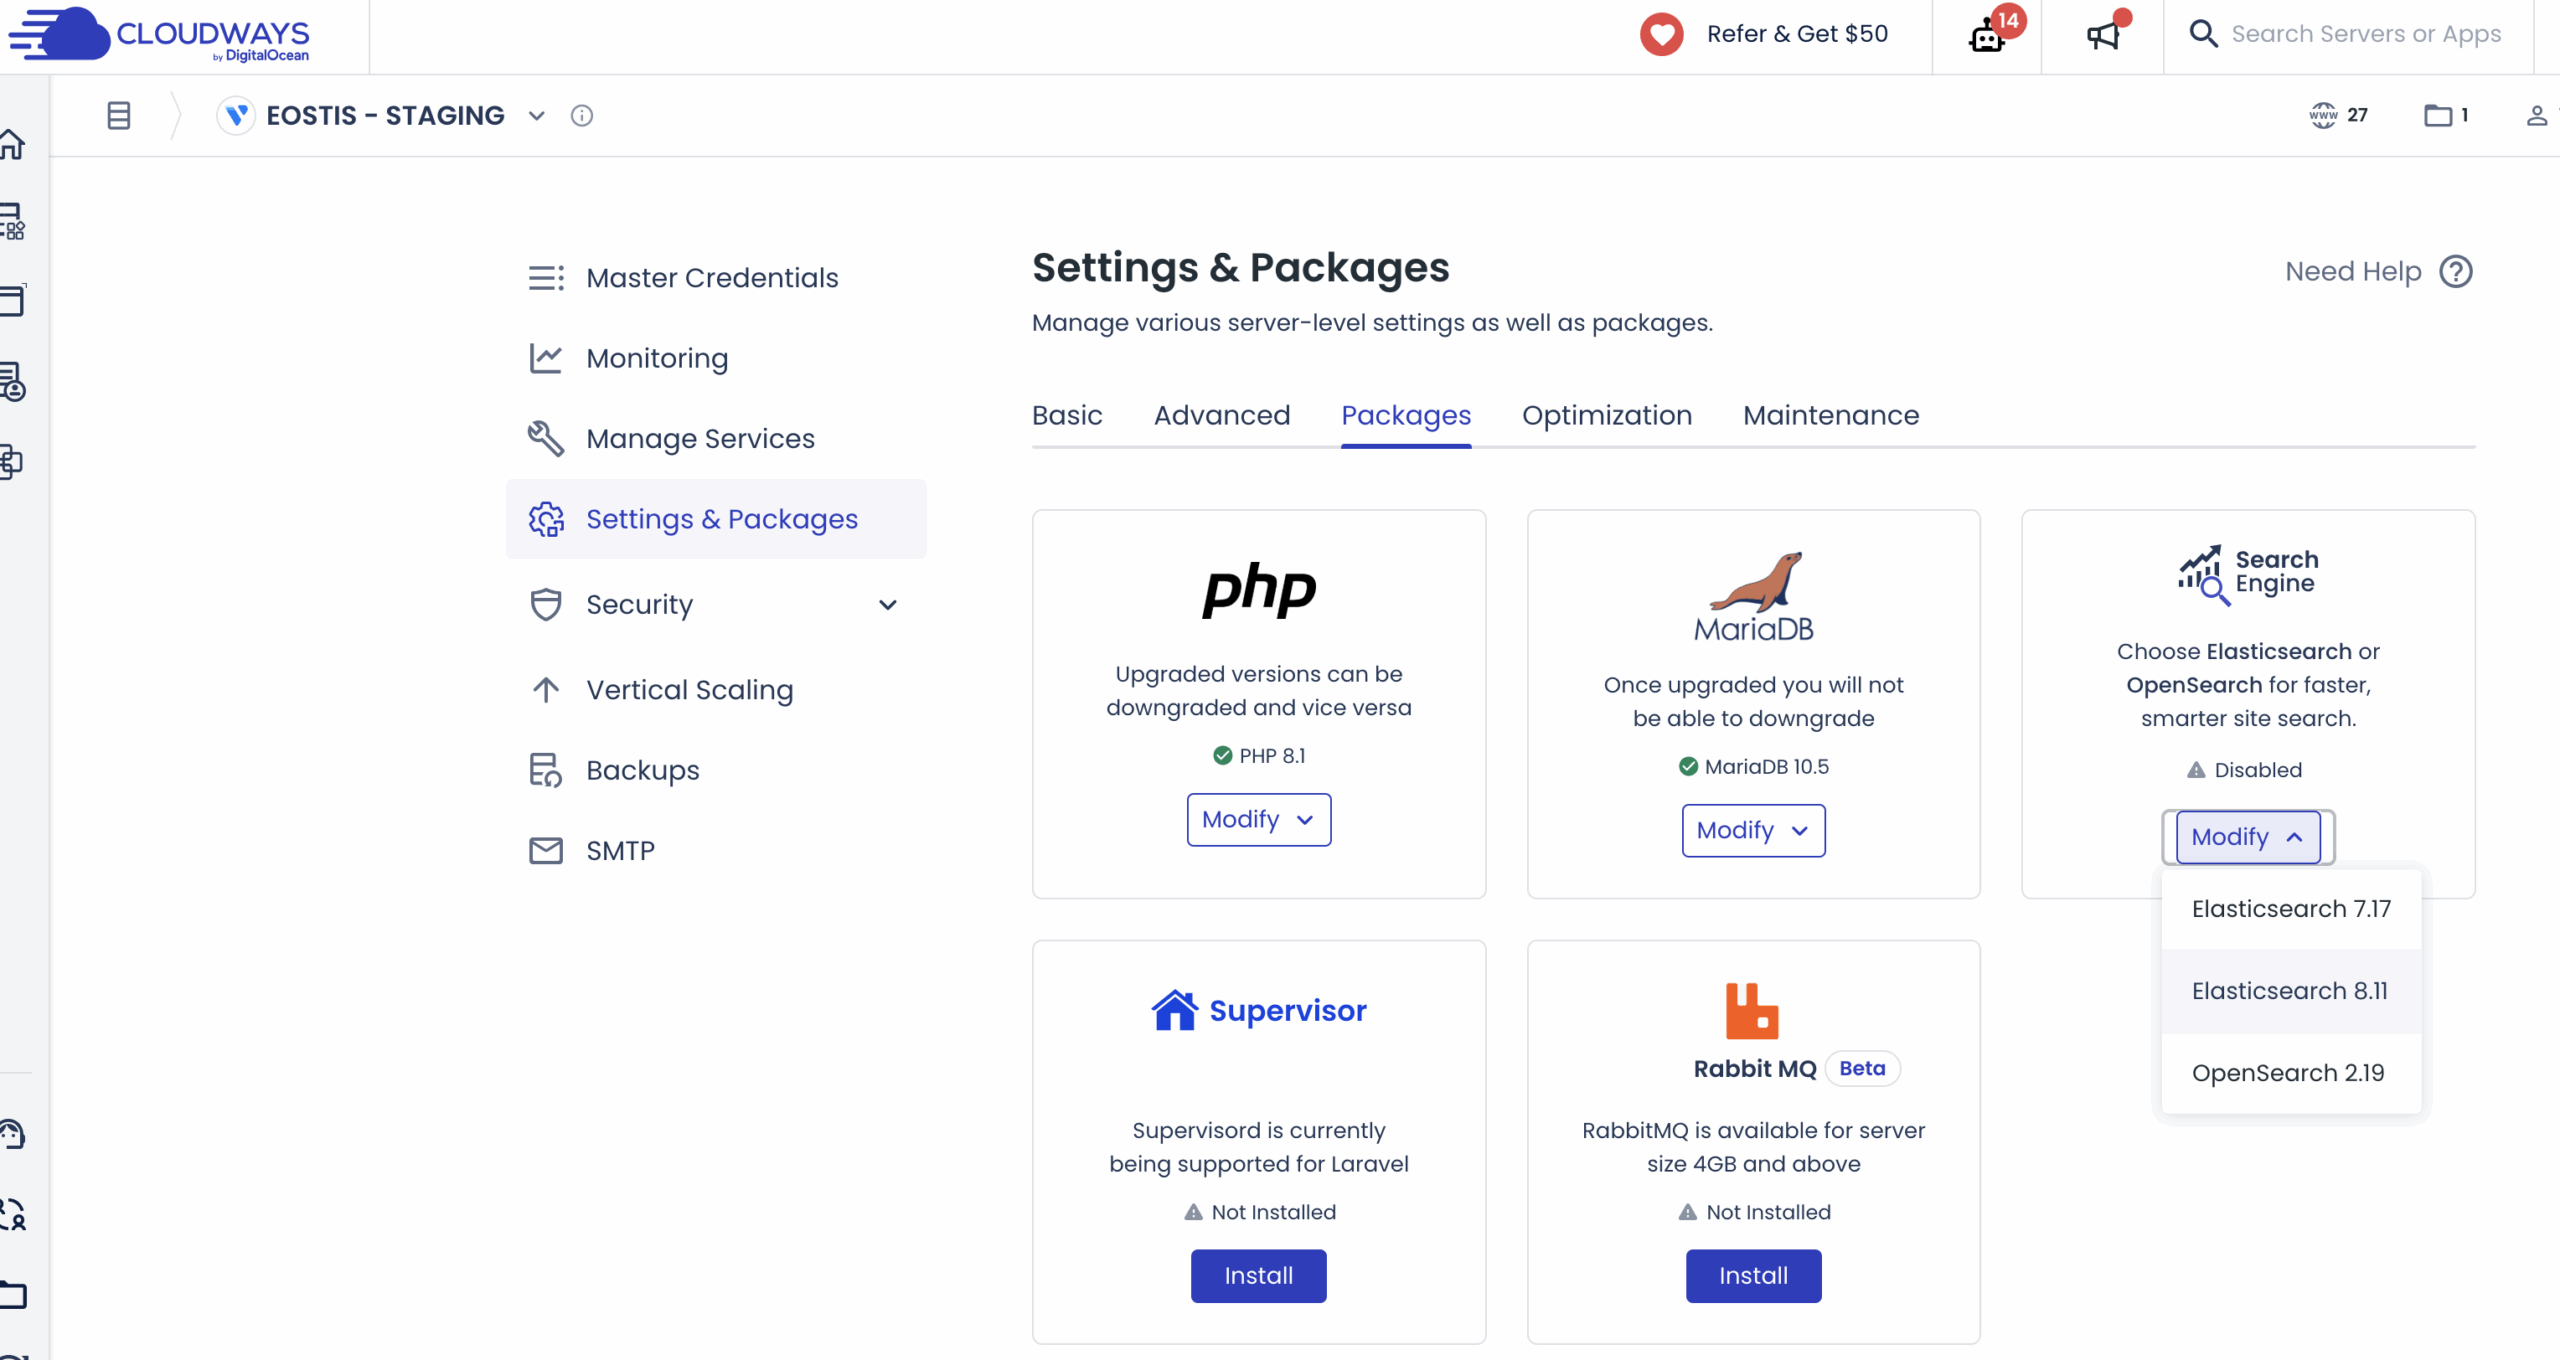
4.2 – Click on menu “Settings & Packages”, then tab “PACKAGES”, then click on icon “enable”
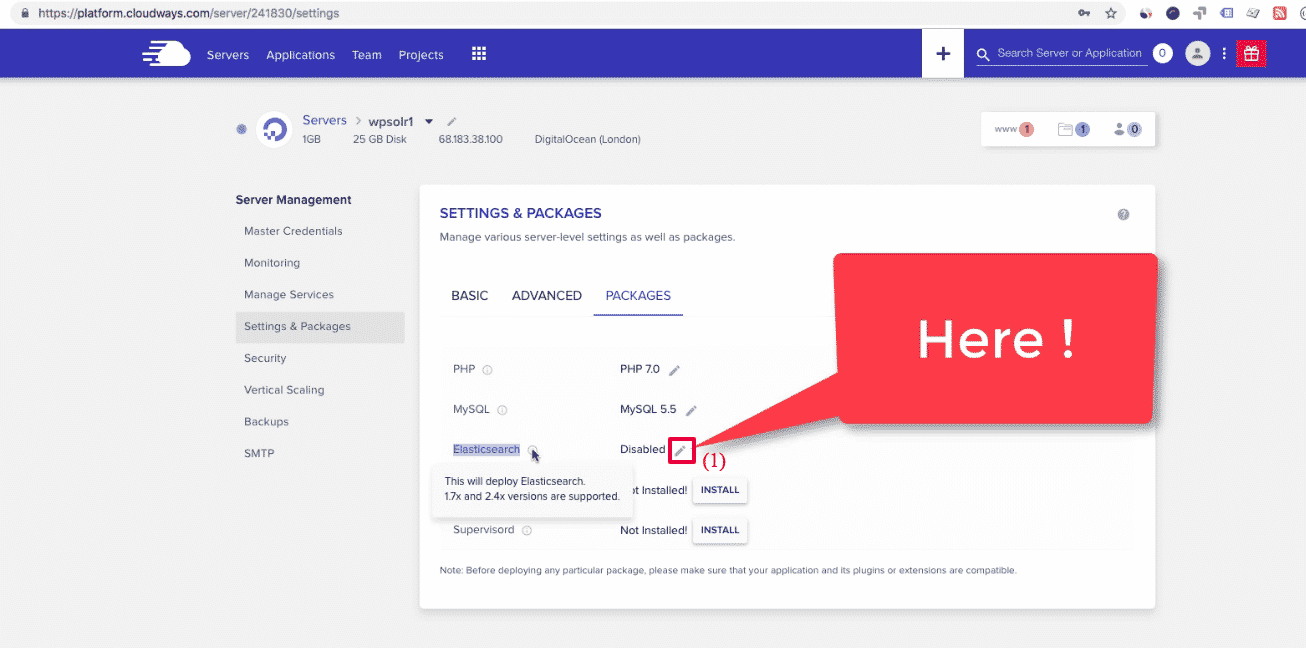
4.3 Choose the latest Elasticsearch or Opensearch version
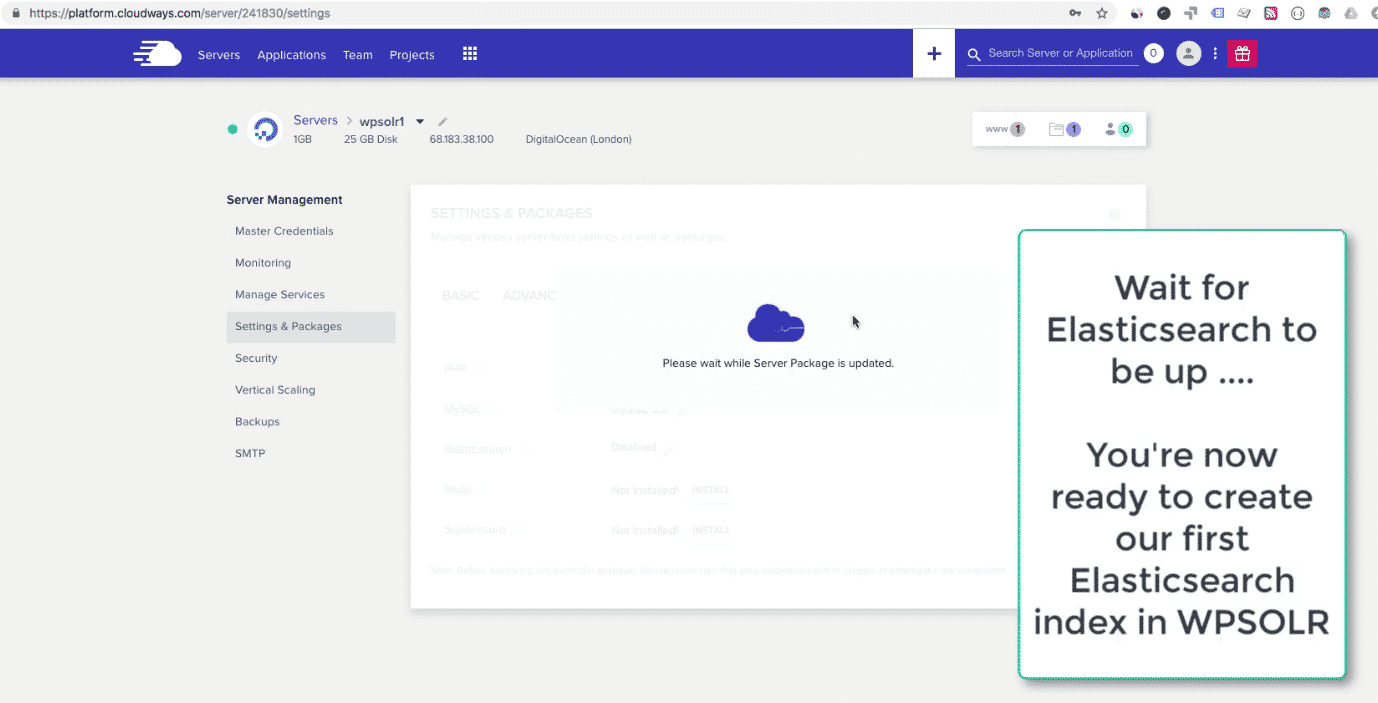
4.4 Wait until Elasticsearch or Opensearch service is ready
Notice that Elasticsearch or Opensearch is only available from your WordPress application. You cannot query it from outside, with cURL or else, unless you ask Cloudways support to open Elasticsearch or Opensearch ports to outside (not recommended anyway).
5 – Create the Cloudways Elasticsearch or Opensearch index from WPSOLR admin
5.1 Open the Cloudways WordPress admin

5.2 Click on the WordPress admin URL link
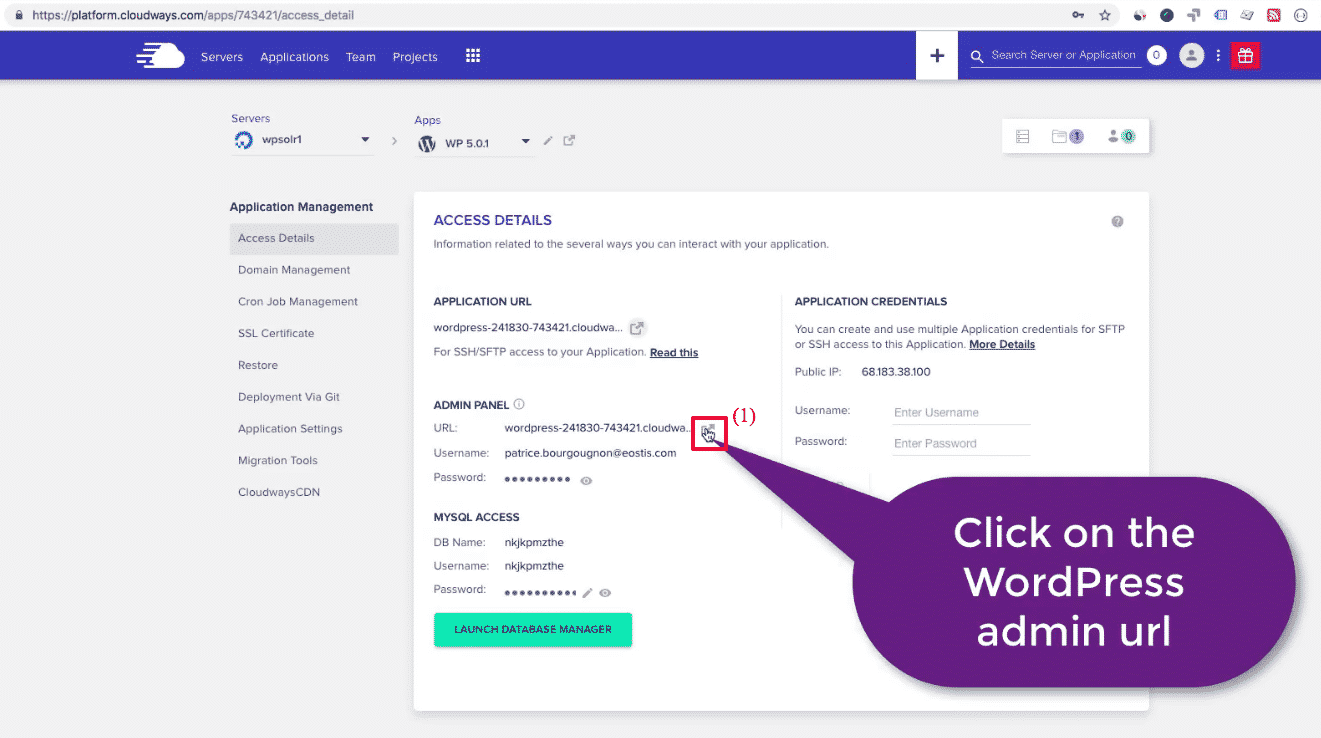
5.3 Congratulations ! You’re in your WordPress admin
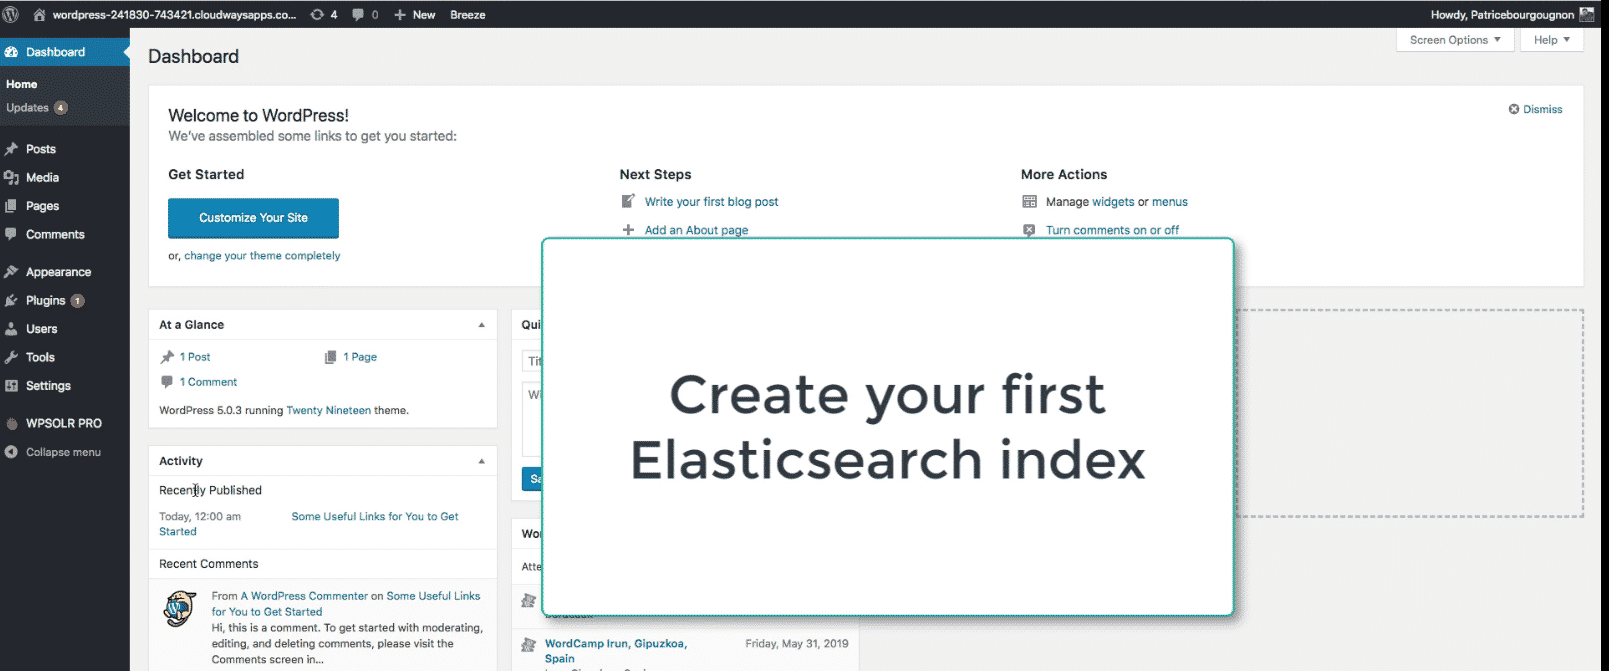
5.4 Activate your WPSOLR license

5.5 The WPSOLR new index form
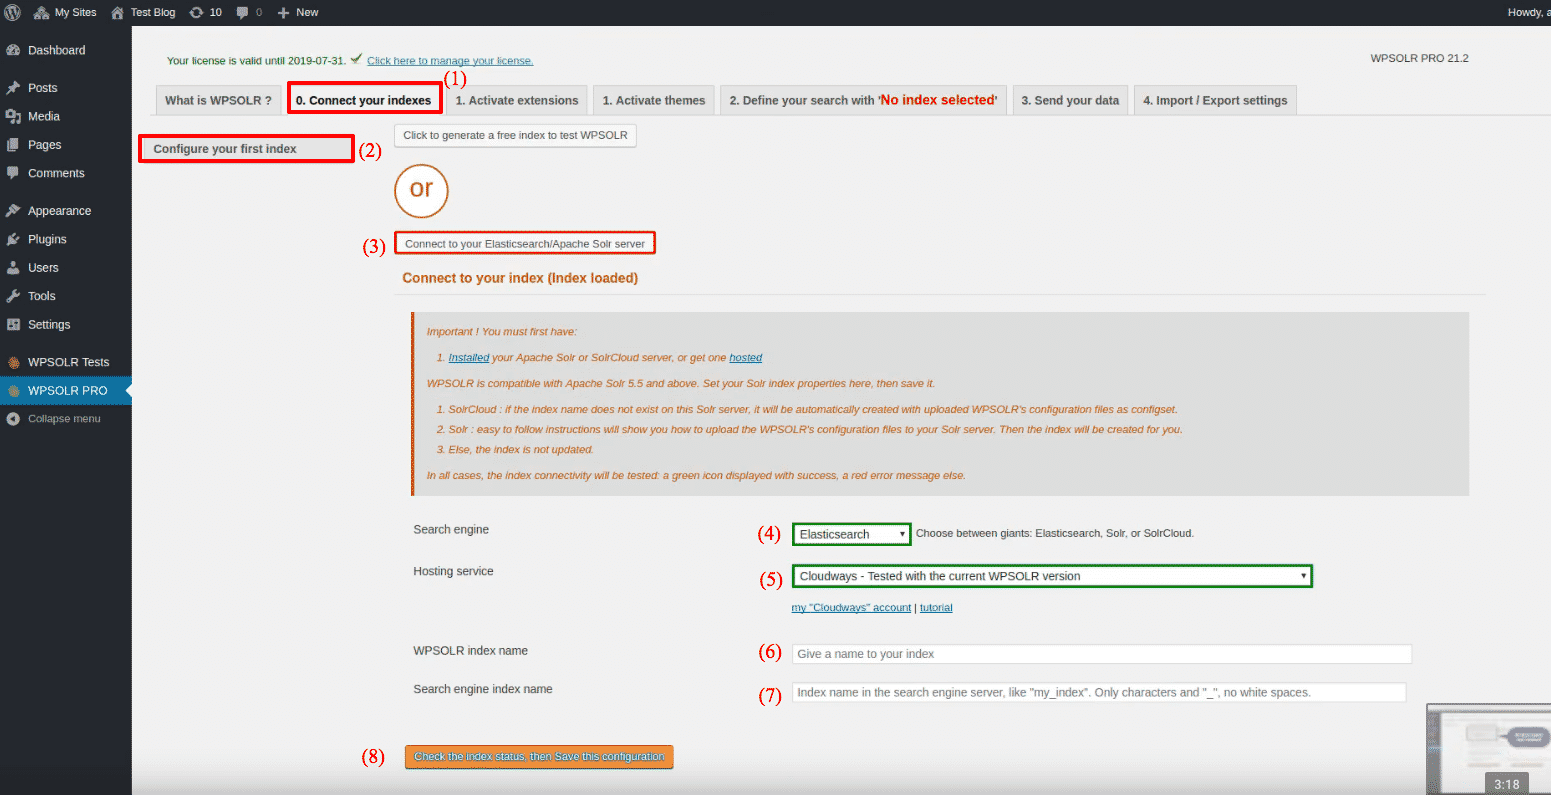
- (1), (2), then (3) to edit a new index
- (4) Select “Elasticsearch” or “Opensearch” among index types
- (5) Select “Cloudways” or “local” among Hosting Services
- (6) Set a name for you index, visible in WPSOLR admin
- (7) Set a name for your index, visible in Elasticsearch or Opensearch backend (only letters and “_”, no whitespaces)
- (8) Create the index
5.6 Index your data