

The WPSOLR boosts section allows you to fine-tune the search experience on your WordPress website. If you are interested in giving priority in some fields or keywords, this is the perfect solution for you.
A practical use case for this feature is if your website is dedicated to public health, you could want to boost the keyword “covid”. This will ensure that posts or other types of WordPress data containing the word “covid” will be ranked at the top of your search results.
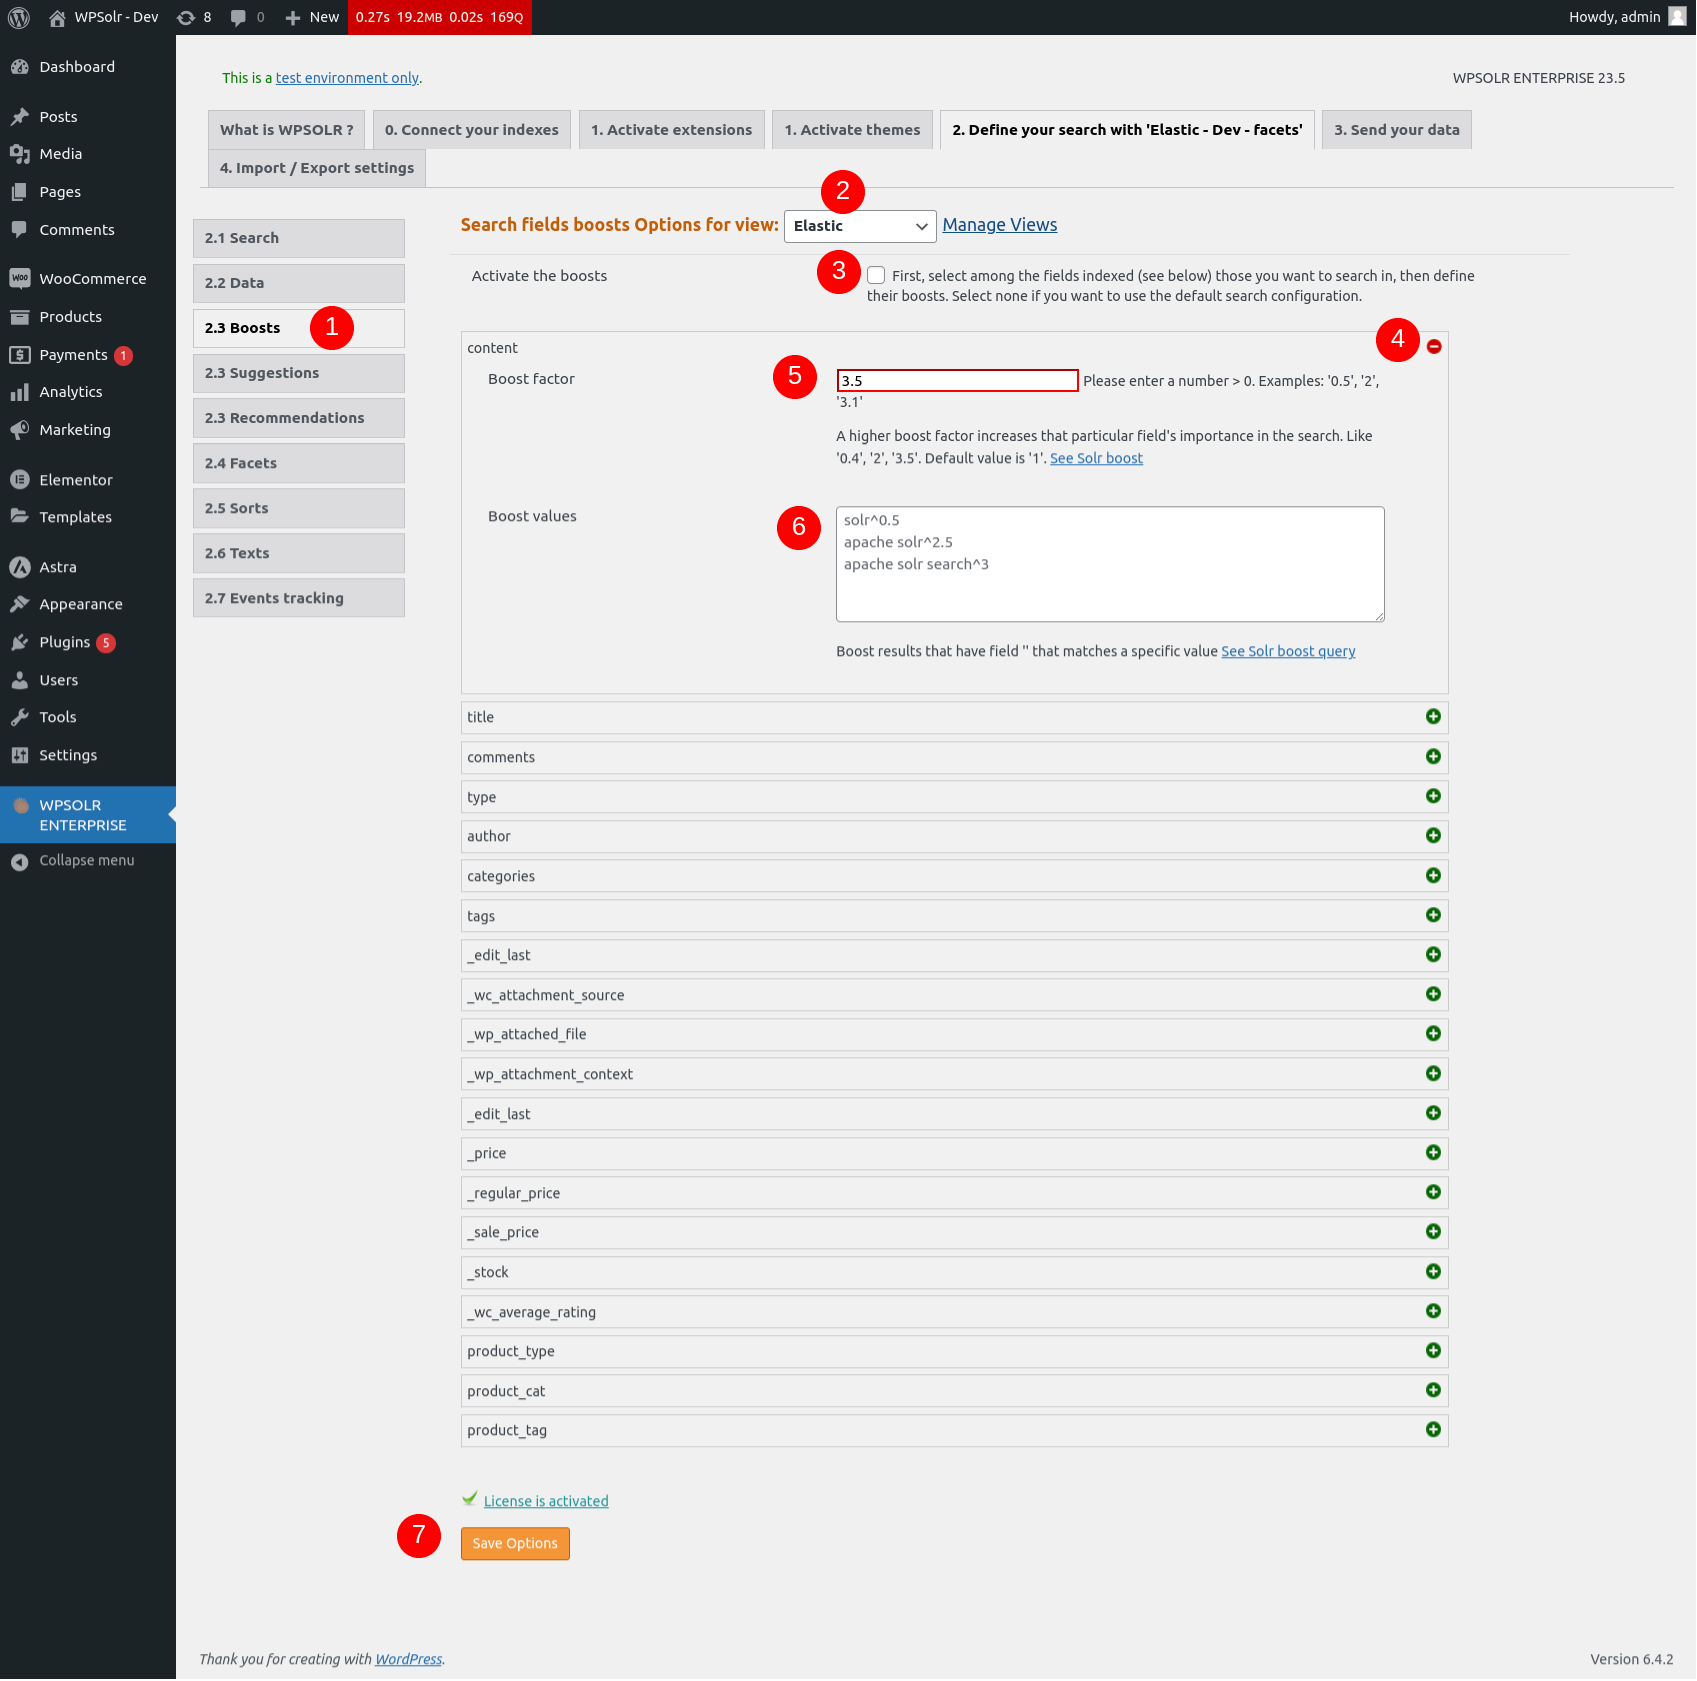
Click on the boosts section
In the WPSolr dashboard, you should click on the “2.3 Boosts” tab to tweak the boosts.
Select the correct view
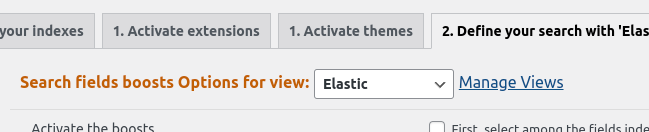
Select the view that uses the index of your choice. It was set in the “2.1 Search” page.
Activate the boosts

Check this box if you want to activate the boosts.
Select the data affected by boosts

If the data type, is not selected a “+” button appears. Click it to make it affected by boosts and expand advanced options.

If the data type is already selected, you can click the “-” button, to deselect it and collapse the options.
All the data types that appear in this page are the taxonomies and fields that were selected during the “2.2 Data” portion of this guide.
Boost factor

The “Boost factor” field of each element is used to determine the importance of this field during a search.
For example, if you search for shoes and there are two products, one with “shoes” in the title and the other with “shoes” in the content, the product with the better score and so the one that appears first will be the one with shoes in the content if the boost factor of the content field is ‘3’.
Boost values
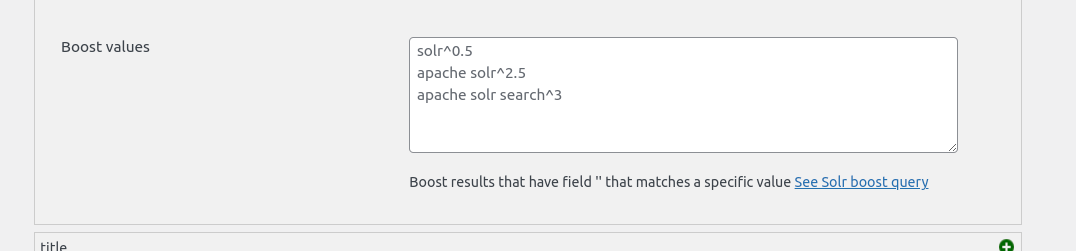
On the other hand, if you don’t want to boost all the matches in a field and instead want to boost specific matches in the field, you should use the “Boost” values field.
An example that could be used is the one written above : a website is dedicated to public health and you want results that contain “covid” in their content field to appear at the top. You should then add the following line to the “Boost values” field : “covid^1.5”.
Save options

Once you have configured the boosts of each field or taxonomy you are interested in, you can click on the button “Save options”