

This page (3. Send your data) of the WPSolr dashboard is where you send (index) your data. It is very powerful since you can send different documents to multiple indexes.
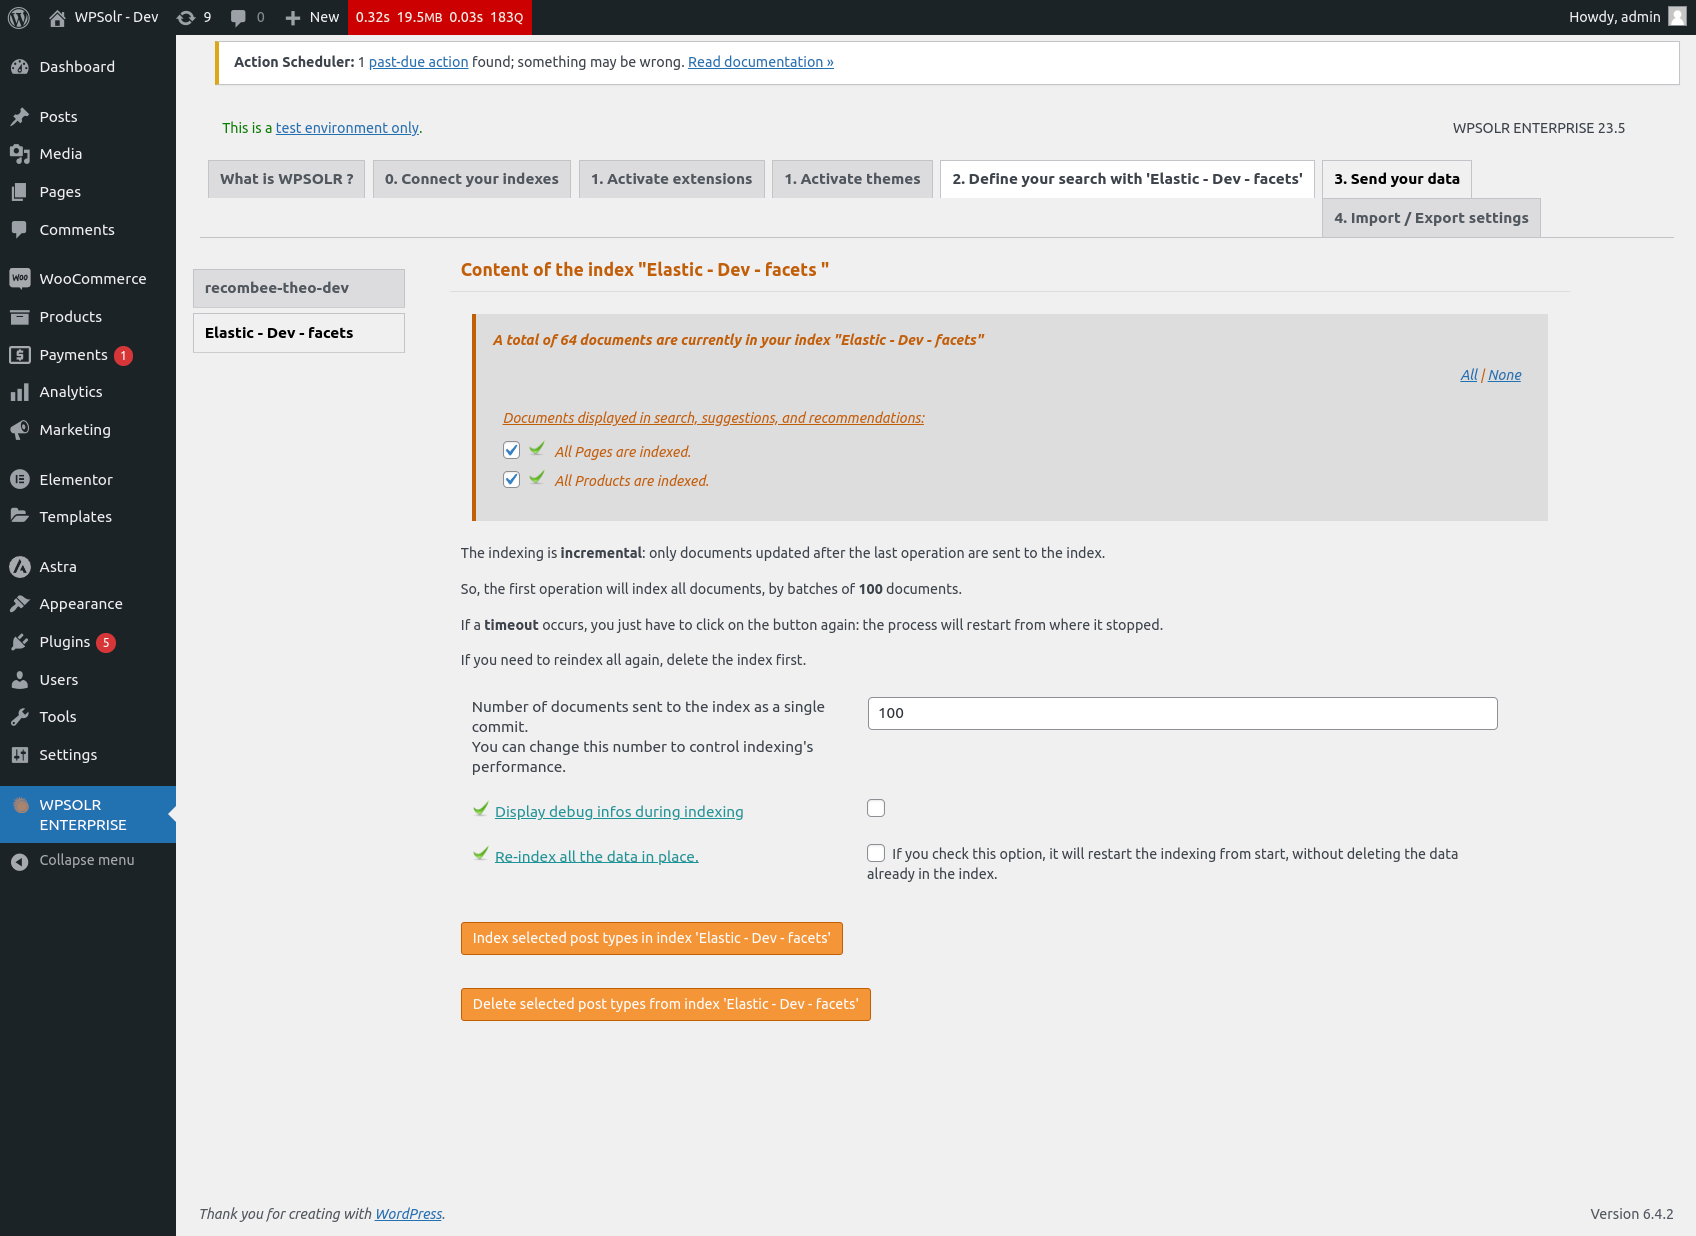
Send your data to the index
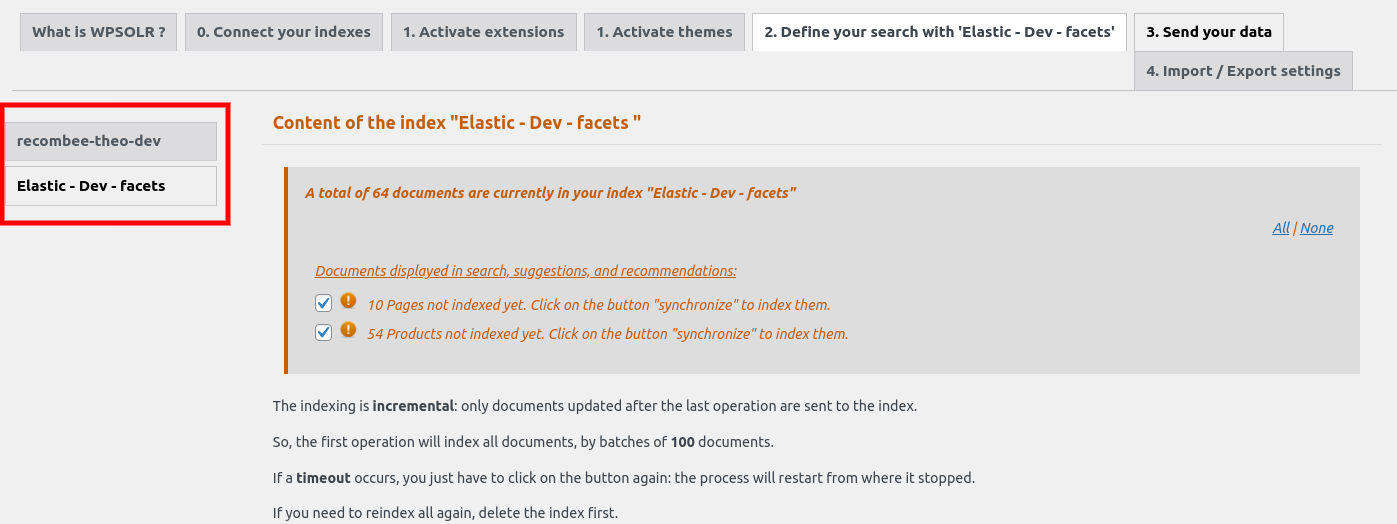
In the left side of this page select to which index you should send the data. All the indexes that appear in this list are the ones that you configured in the 0. Connect your indexes section of this guide.
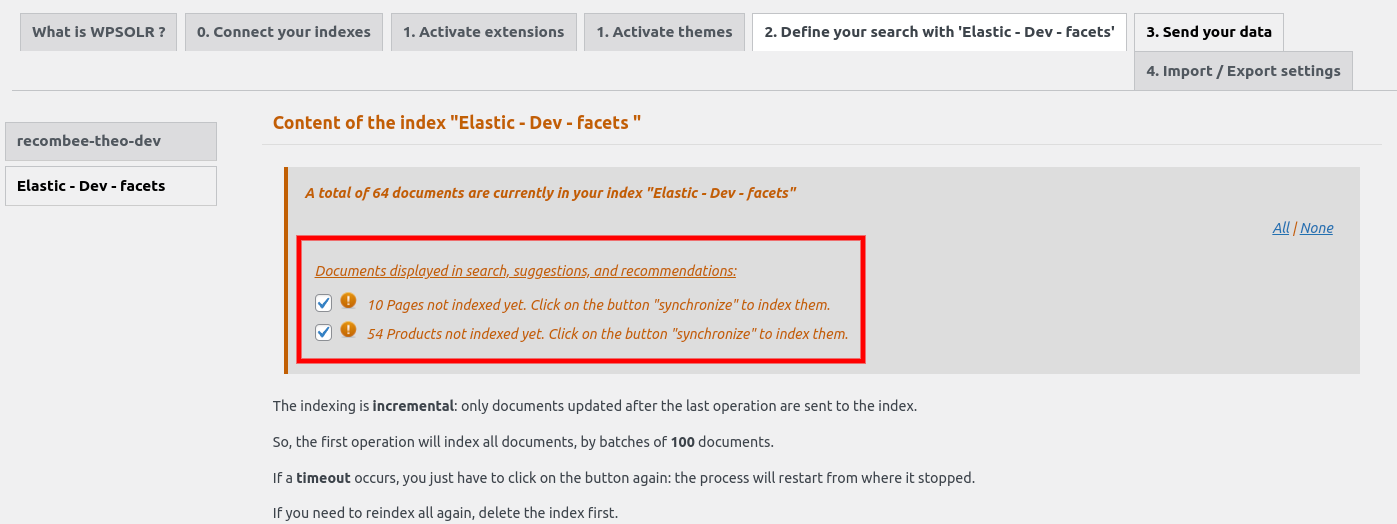
Select the data you want to store into the index. All the data that appears here are the ones you chose in 2.2 Data. Just check the boxes of the data you want to index. In this case, I chose the 10 pages and 54 products.

By default, WPSolr indexes data by sending them to the search engines in batches. If the number of documents in a batch is set to 100, 100 different documents will be collected and merged before being sent in a single group.
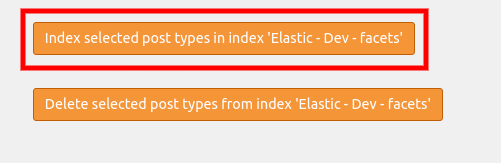
You can now click on the “Index selected post types” to send the selected data. The data will now be sent.
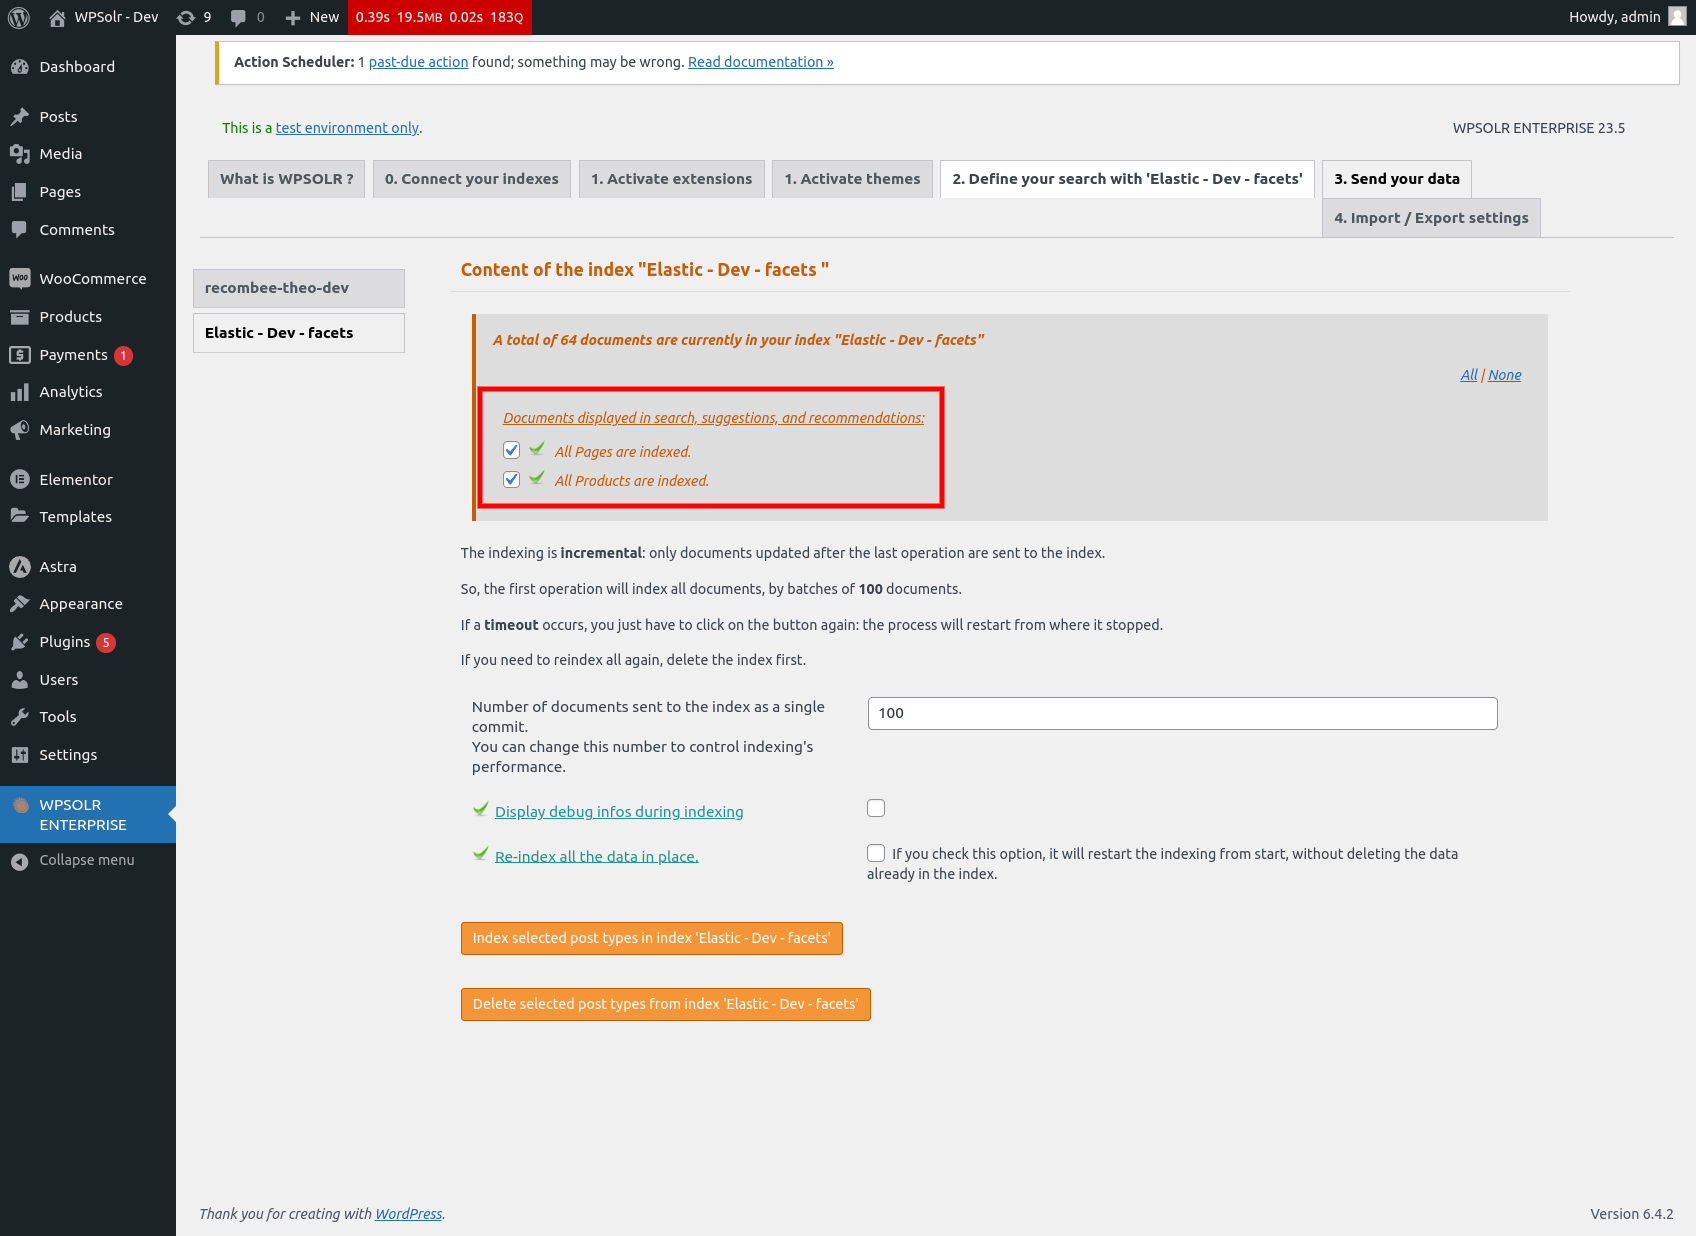
All the data is now indexed.
If you have selected real-time indexing, after this step all documents created in the future that are of the types of data you selected here will automatically be sent to the search engine.
Delete data from your index
Most of the folowing are very similar to the ones in the “Send your data to the index” portion of this guide.
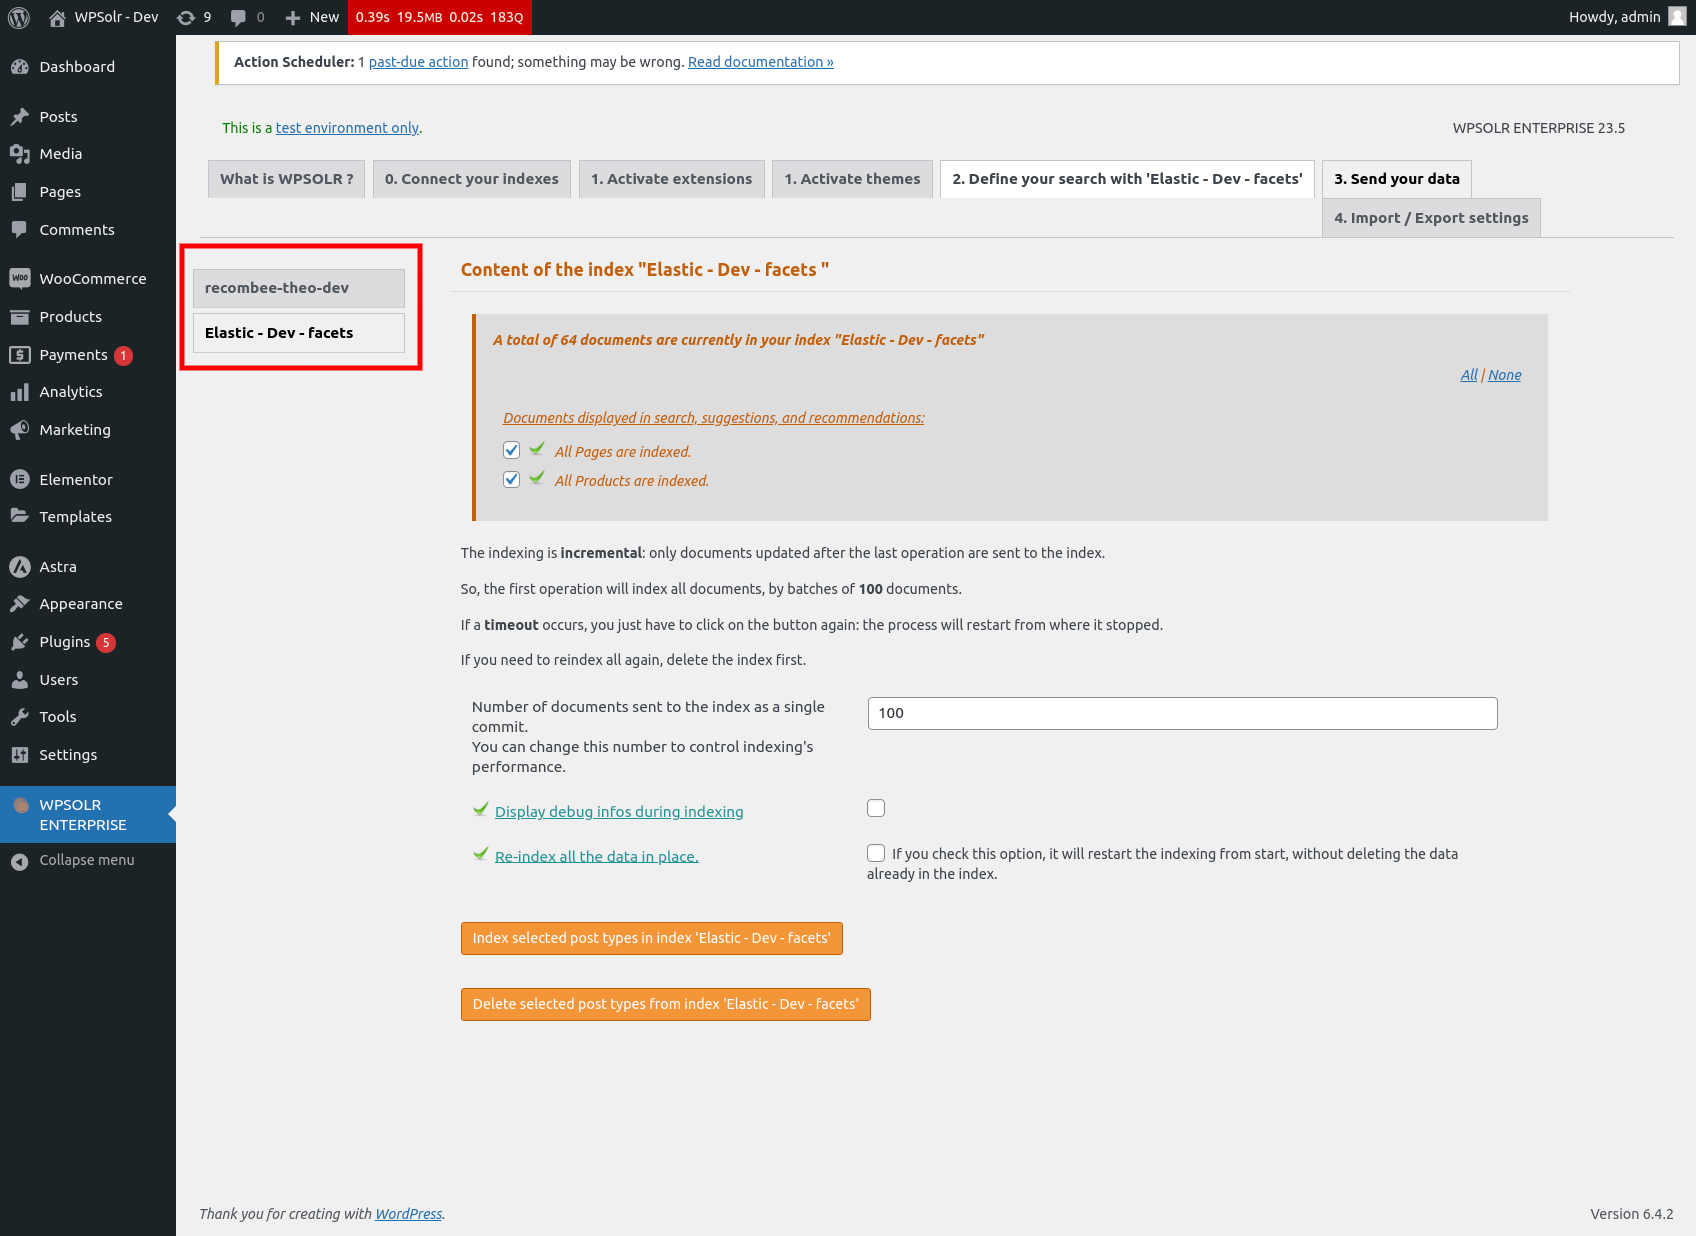
Once again, select the index you created that you want from the list on the left side of the screen.
As you can see all of the documents are indexed. In this example, we will remove the pages from the index.
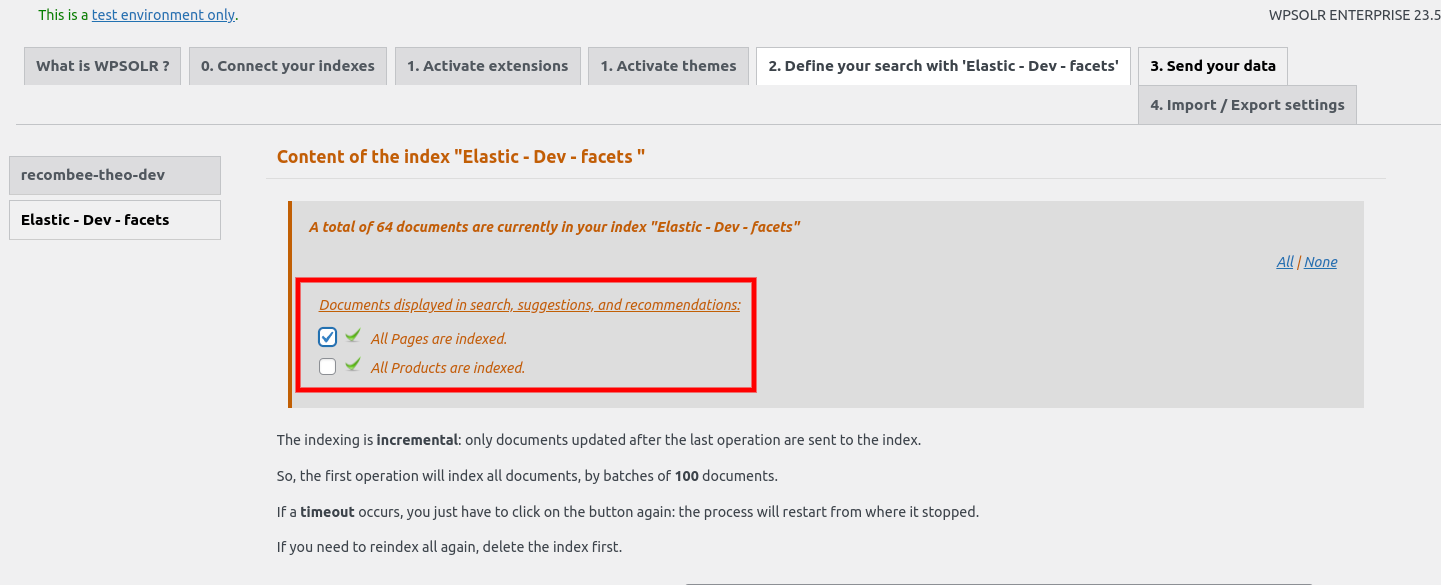
Simply check the pages box BUT LEAVE THE OTHER ONES UNCHECKED.
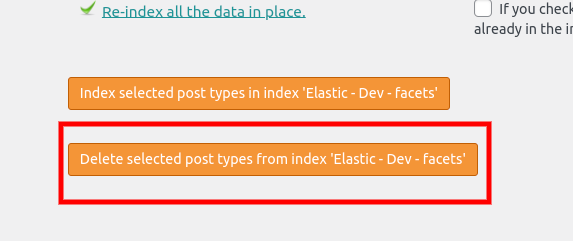
You can then click on the “Delete selected post types from index button” in the bottom of the page.
This means that all the data you checked above will be deleted from the index and, if you have selected real-time indexing, all the documents of the same data types you removed that are created in the future will not be indexed automatically.
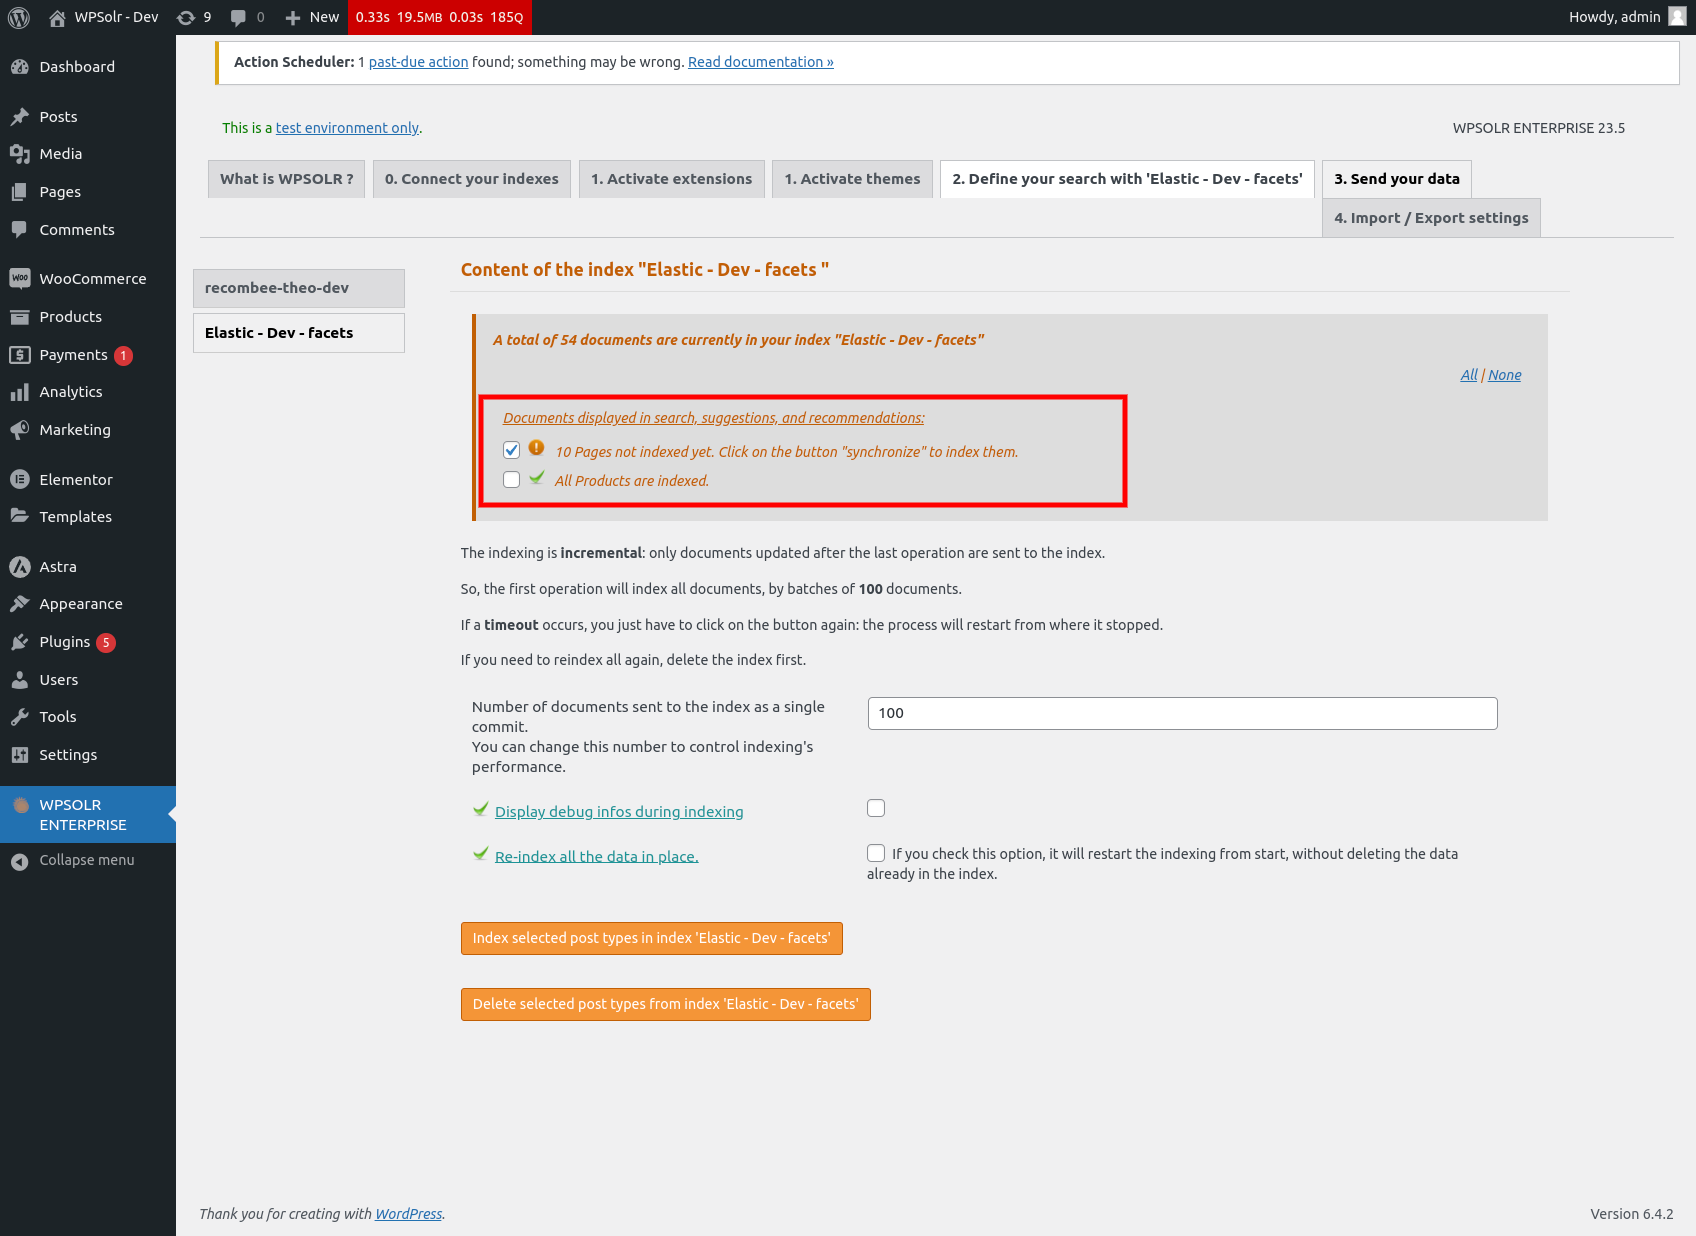
The pages have now been removed from the index.
Debug your indexing process

If you encounter problems during the indexing process, you can check the “Display debug infos during indexing”. This will log and display the queries whenever you index or delete documents.
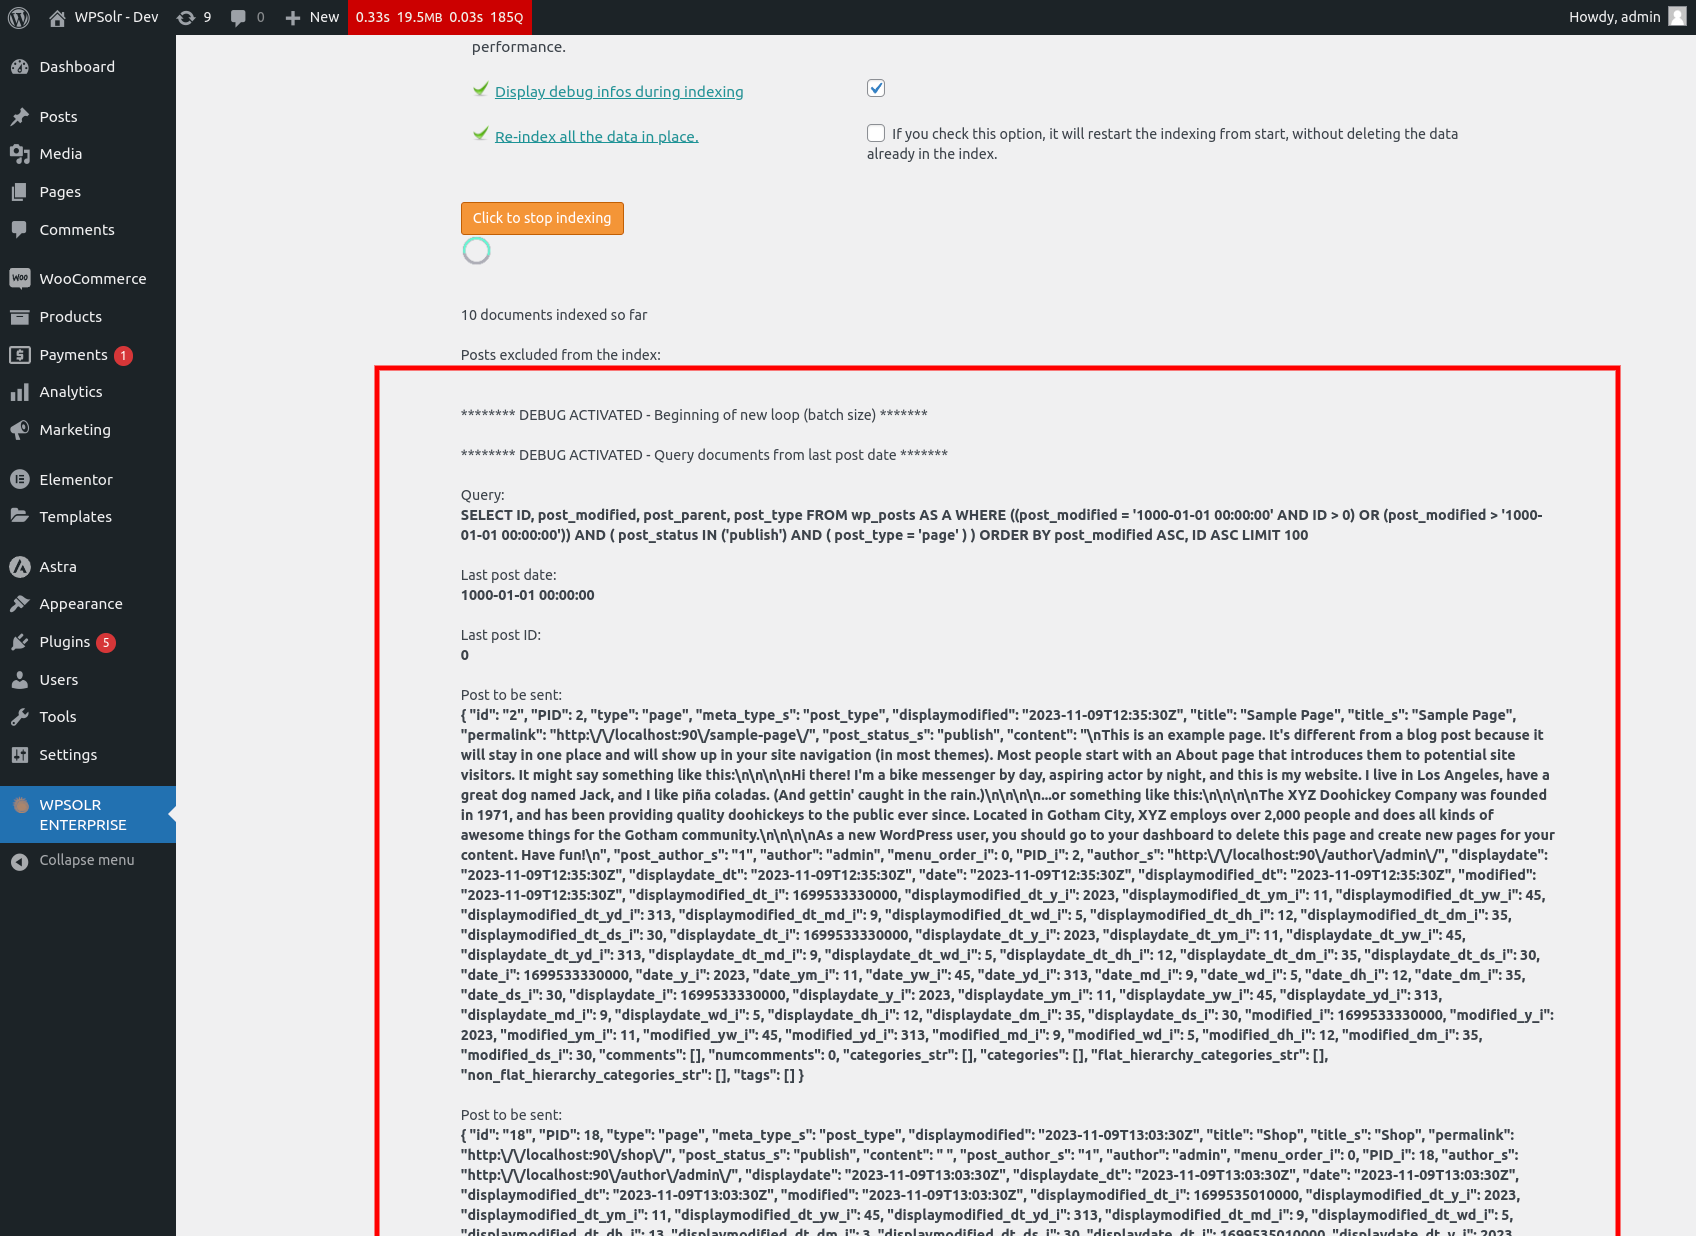
In the image above you can see that all the queries are displayed when indexing documents because the option has been checked.
Re-index all your data

By default, WPSolr only indexes new documents, but if you which to send all the documents including the ones already stored in the index, just check the “Re-index all the data in place” option.
Warning : If you have many posts or products this option will be ressource intensive.