What is the bbPress add-on
The bbPress add-on combines the forum plugin with WPSOLR search.
How to install the bbPress plugin
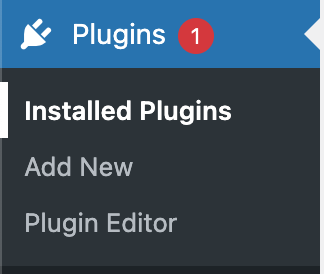
Click on Plugins.
Then click on “Add New”.
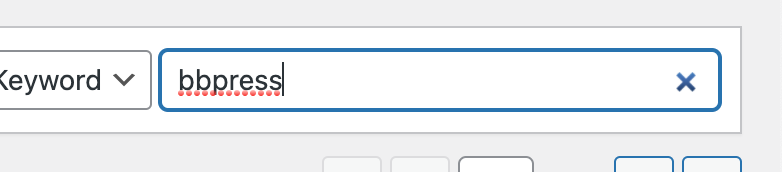
Type in “bbpress”.
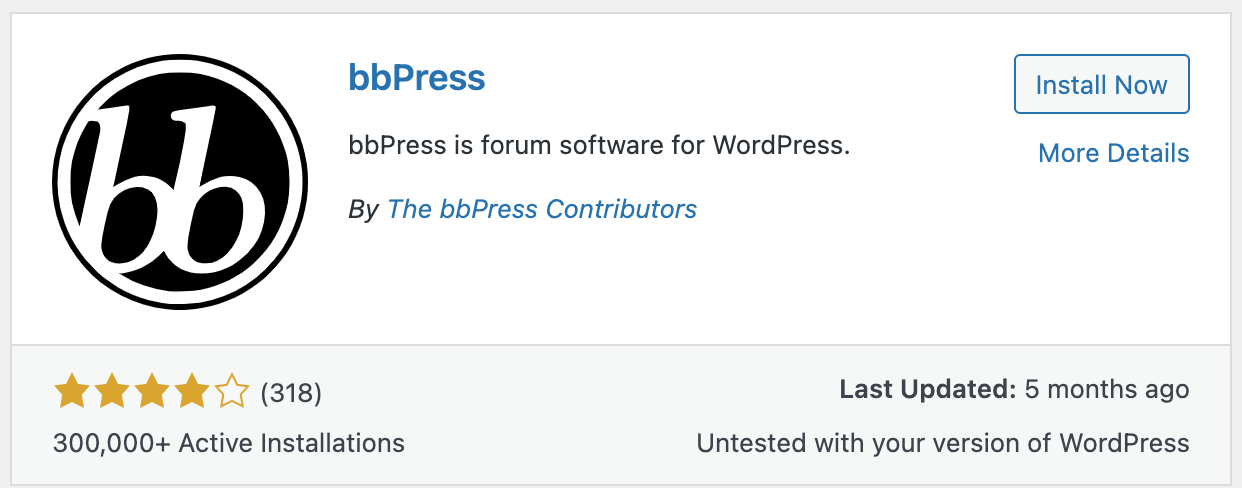
Select “Install Now” to install the plugin.

We can see the plugin was installed correctly.
Create a bbPress forum
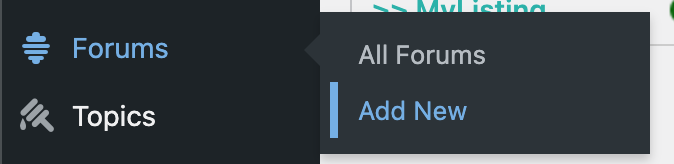
Click on “Forums” > “Add New”.
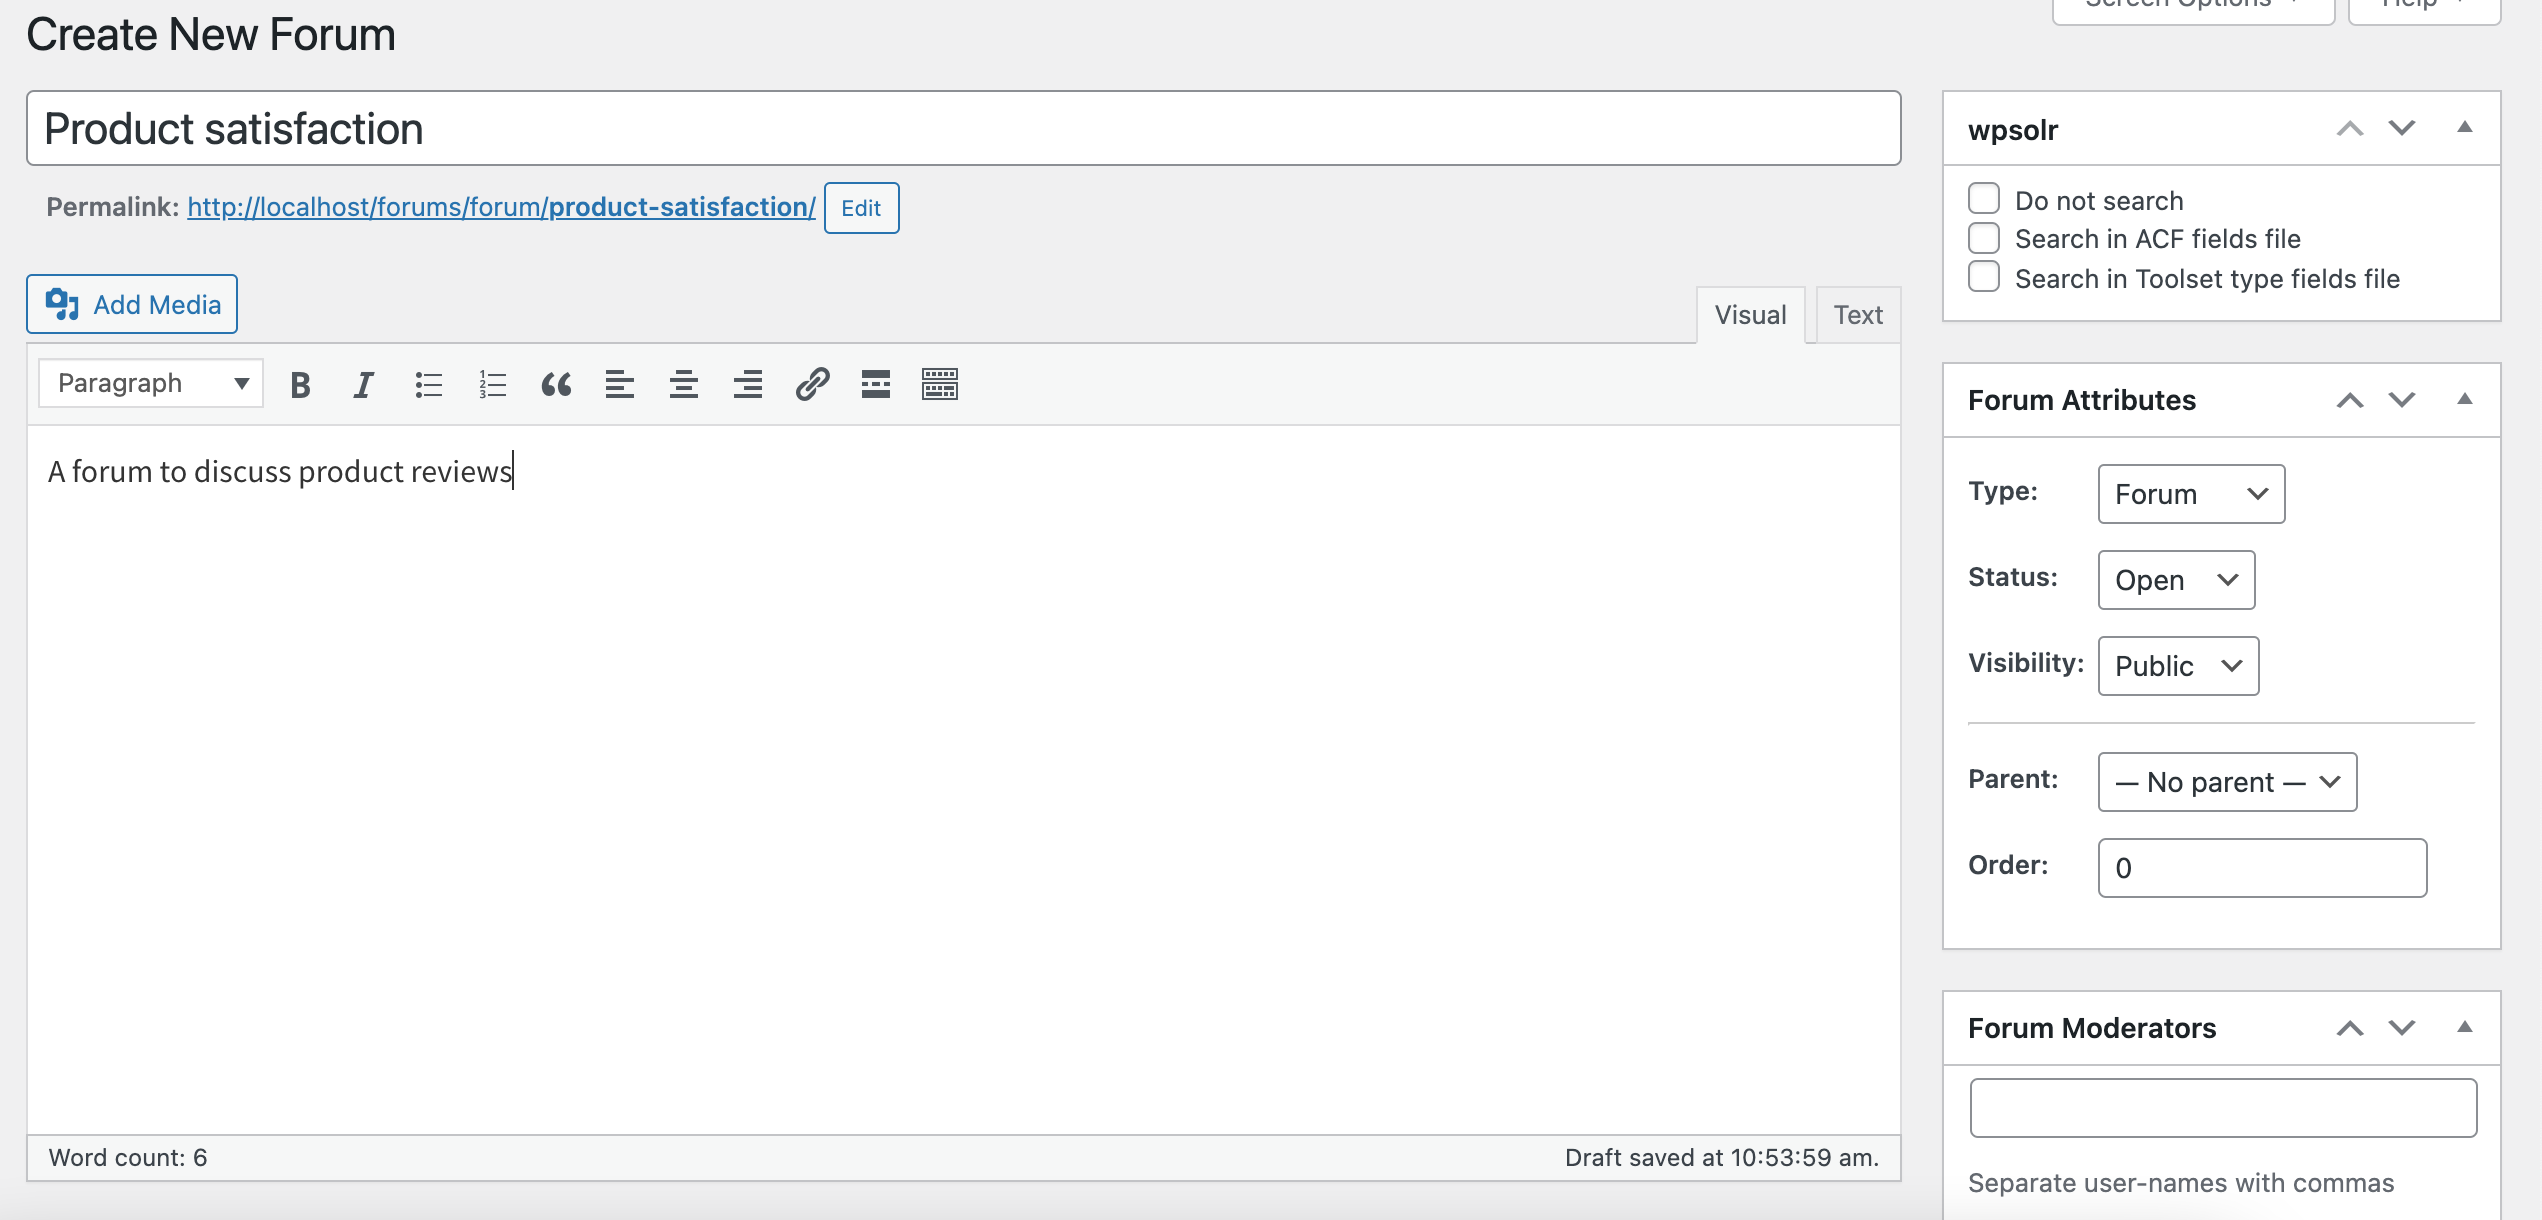
Then give your new forum a title and a description. Choose the type of forum it is, the status and the visibility. When you’re done save your changes.
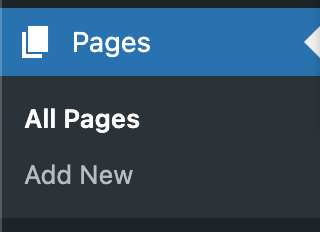
Then click on “Pages” > “Add New”.
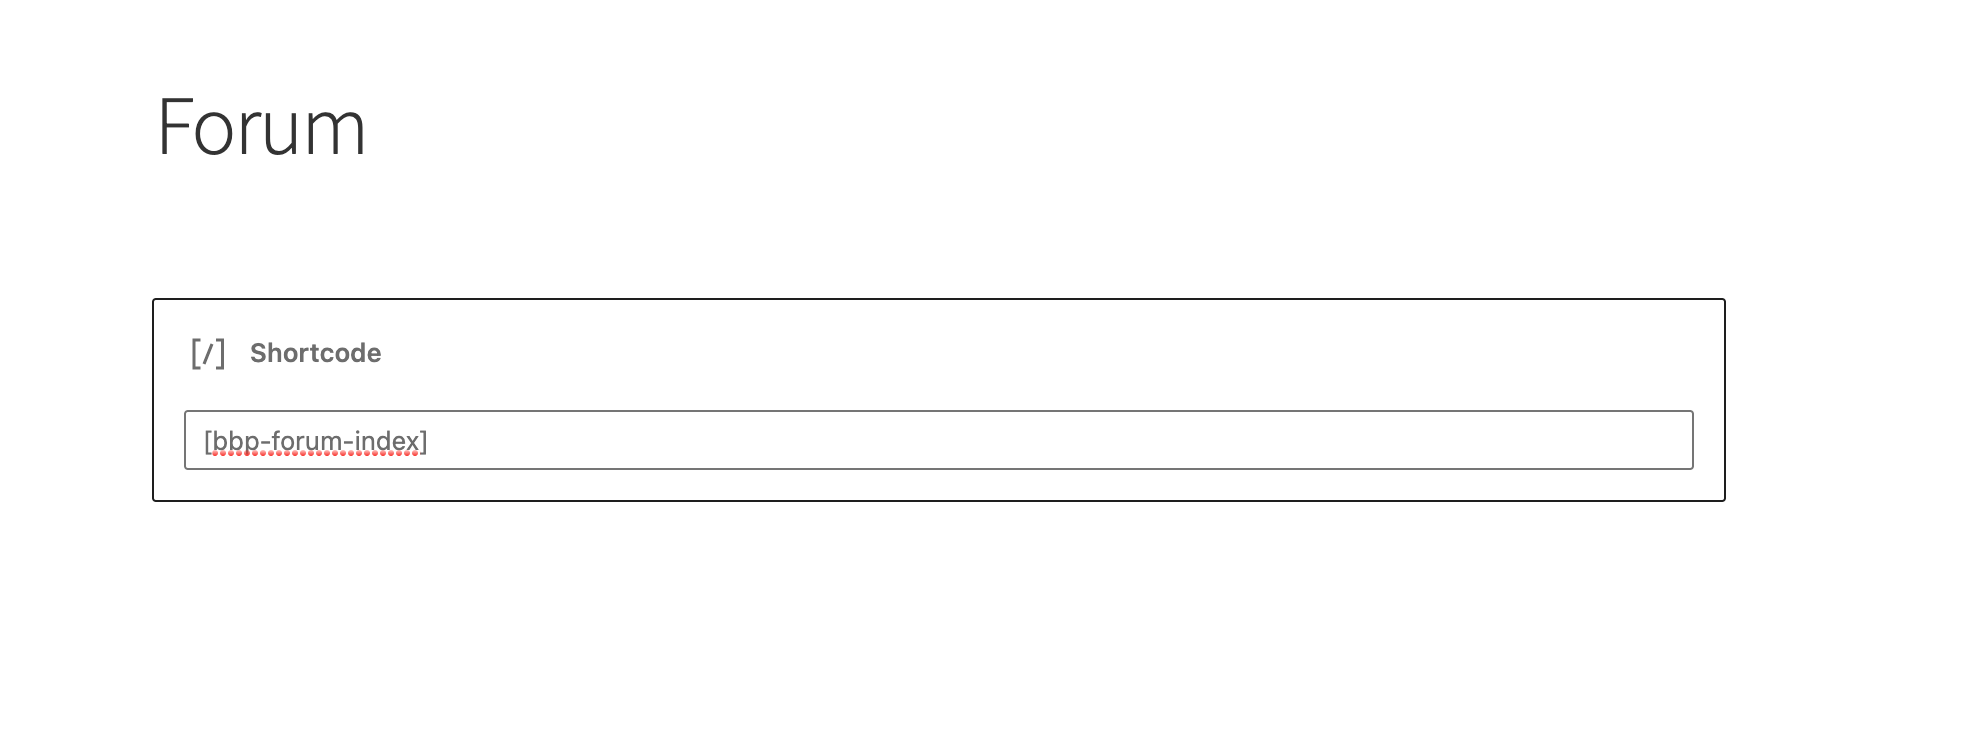
Add a title and a shortcode. Add this shrtcode to add the newly created forum.
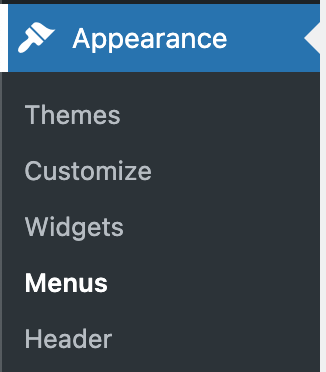
Then click on “Appearance” > “Menus” if you want to add the new page on the menu bar.
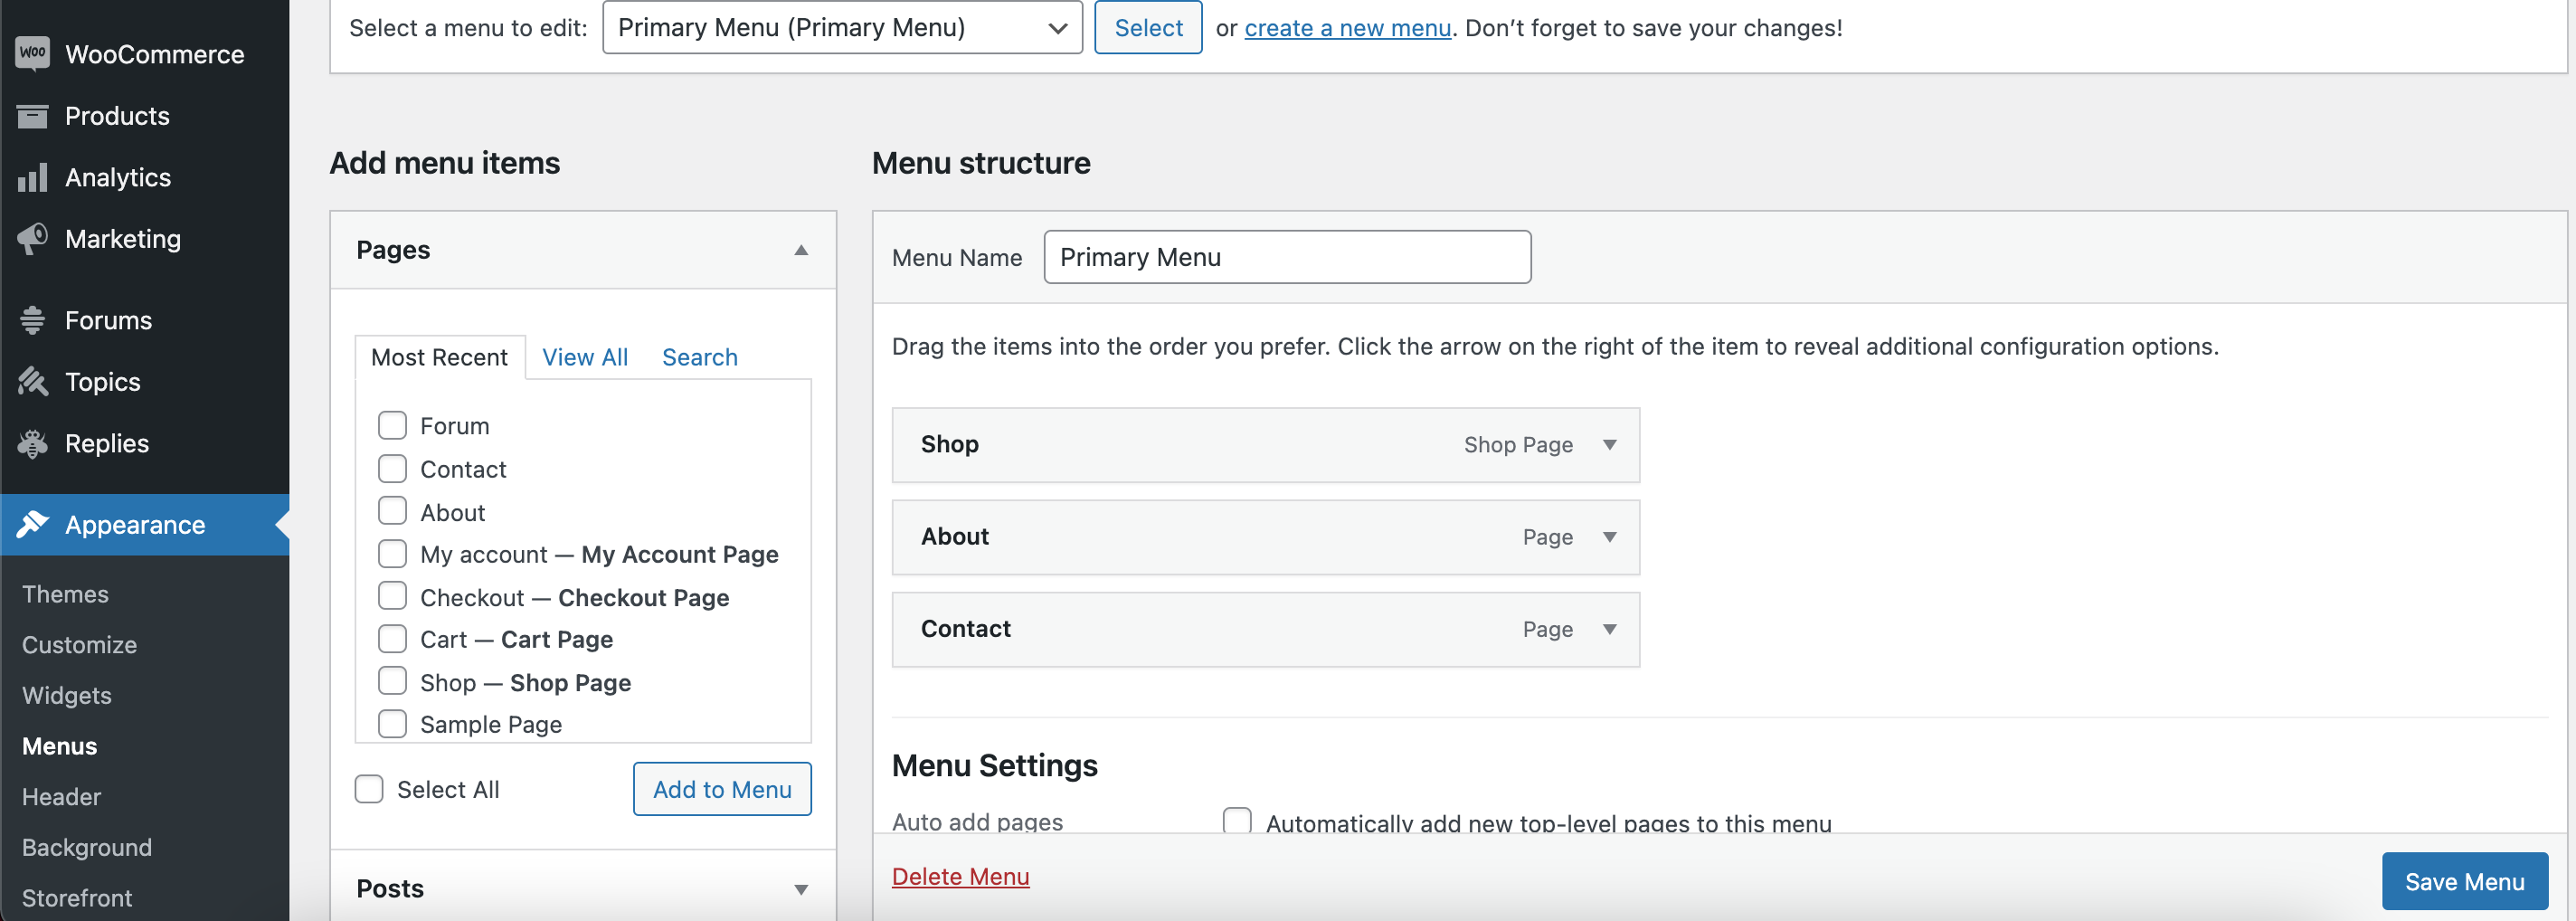
Select the menu to edit at the top then click on the newly created page on the left.
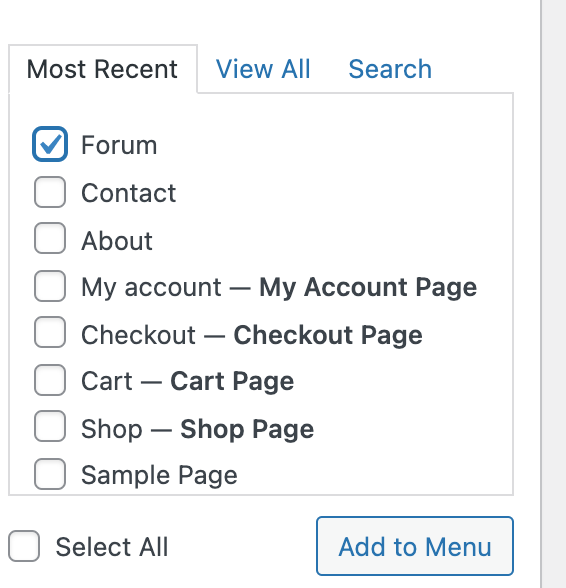
Click on “Forum”.
Then click on “Save Menu”.
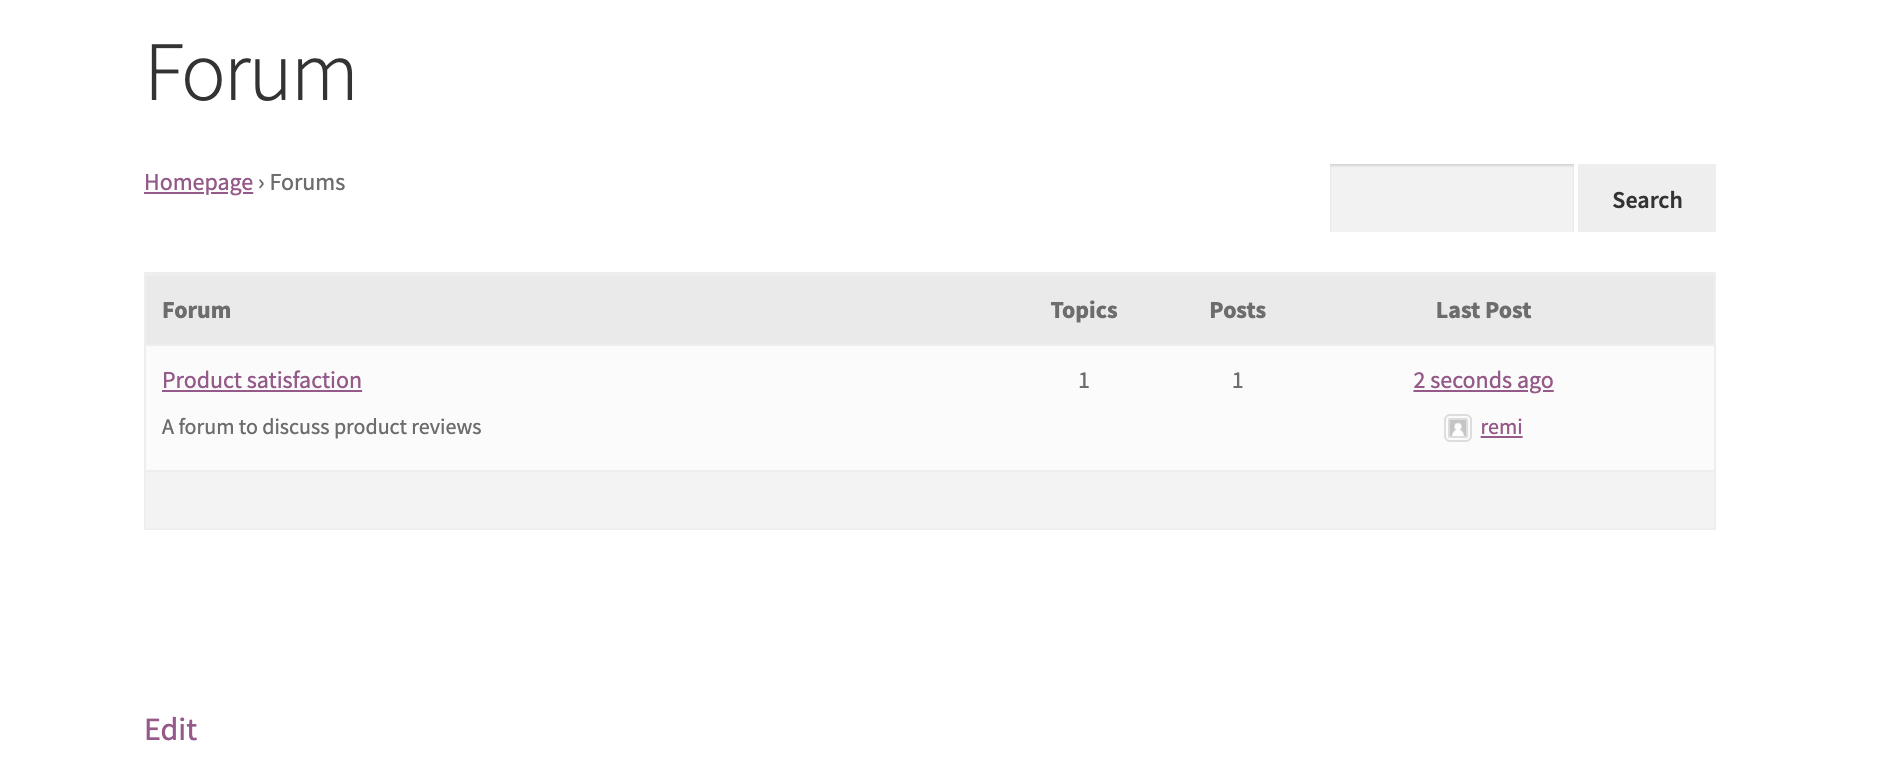
Then go on the front part of your website and create a comment.

As you can see we have one post created on our forum.
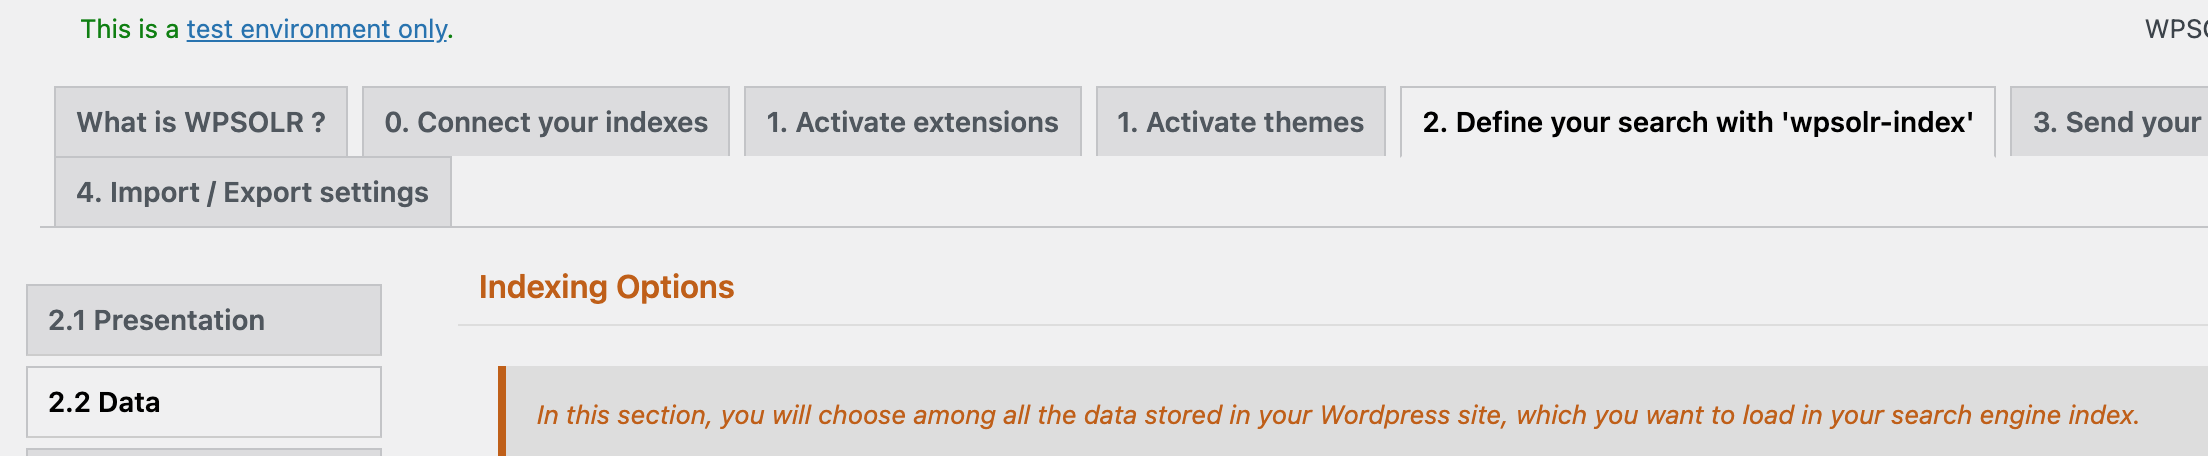
Then head onto WPSOLR and click on “Define your search with ‘wpsolr-index'” > “Data”.

Click on “Forums” and select the fields you want to use.

Here I chose the topic id field.

Then click on “Filter” in the sidebar.

Then select the bbPress fields.
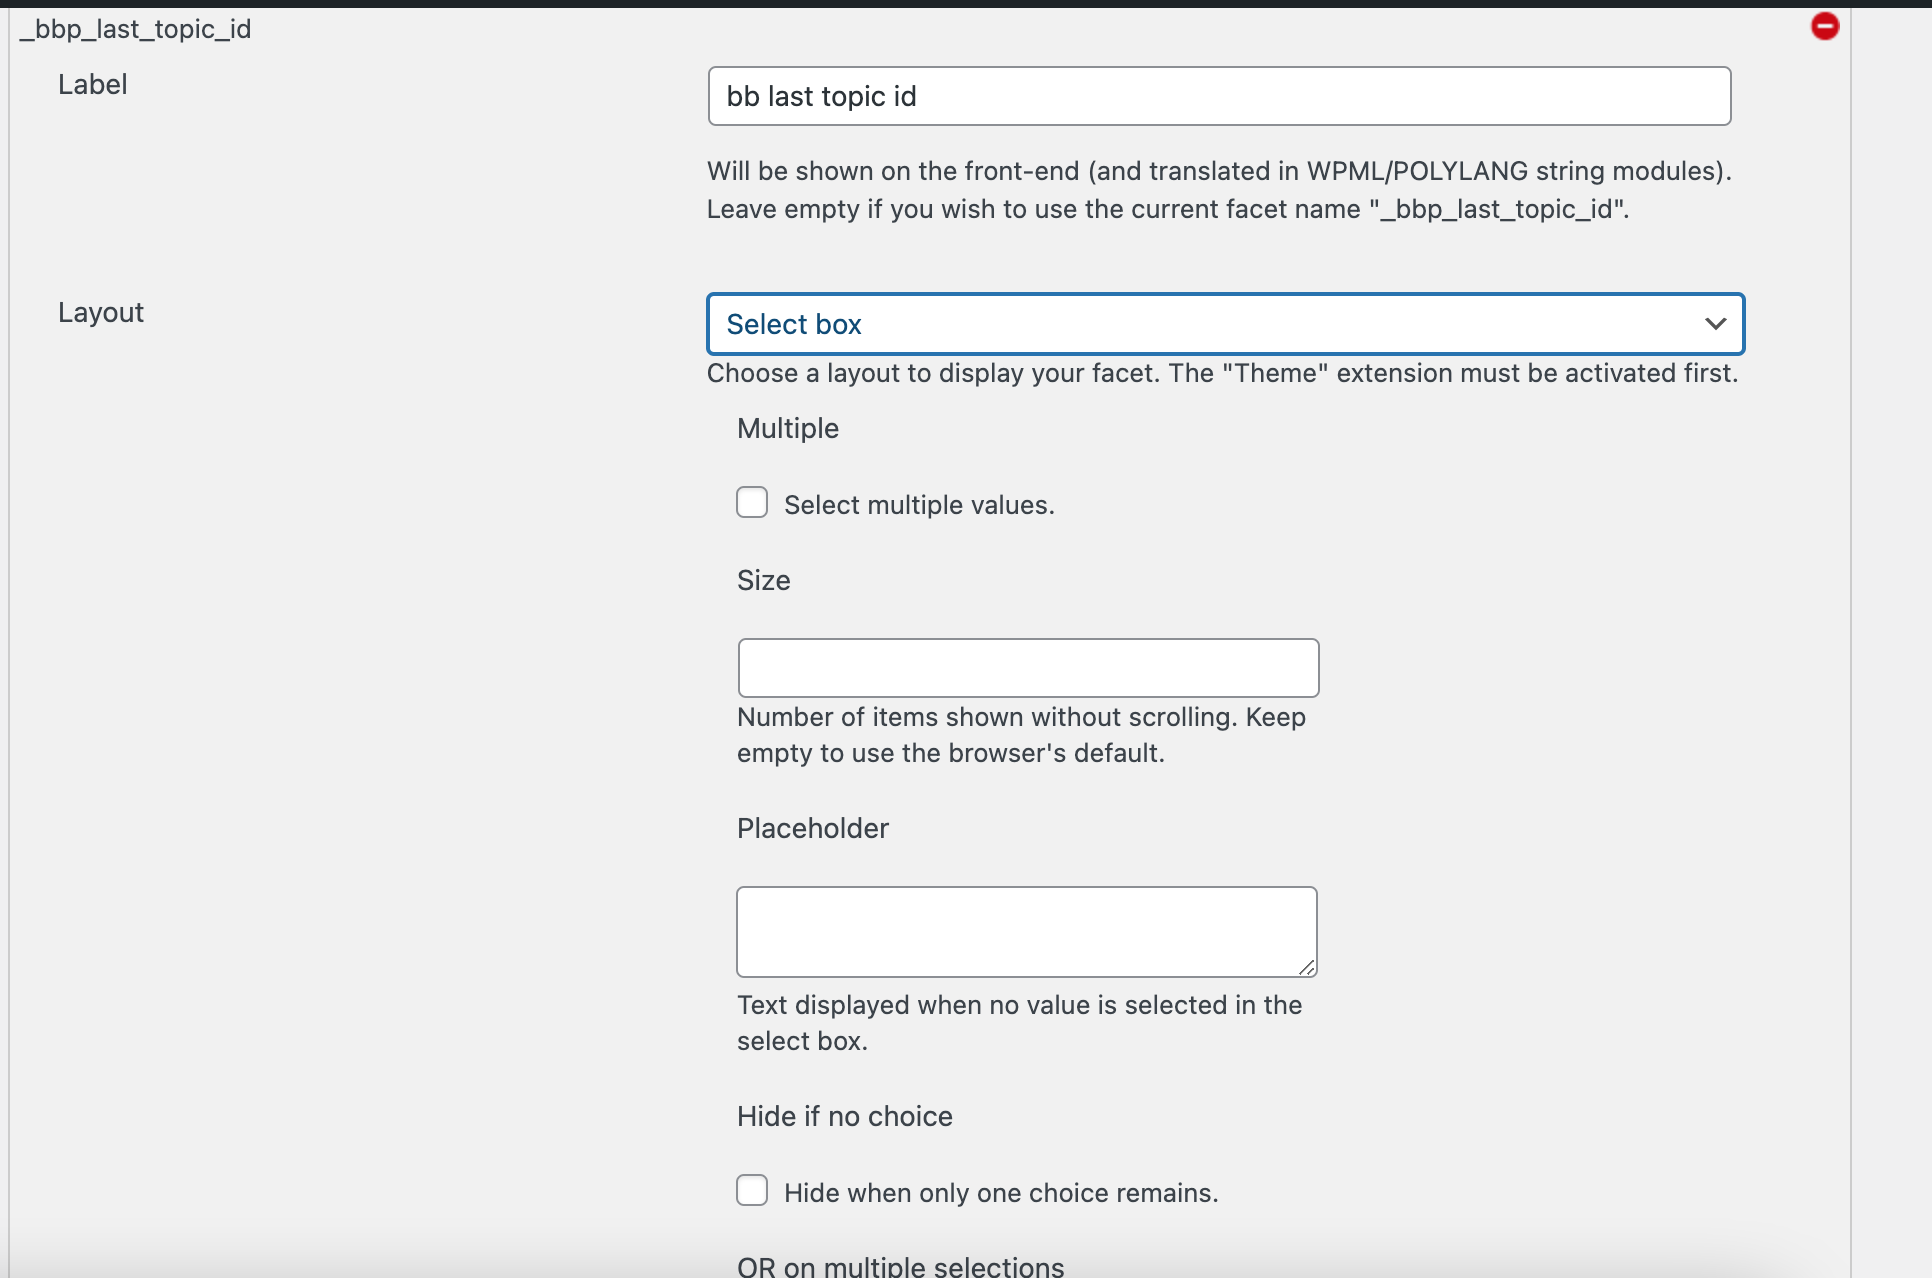
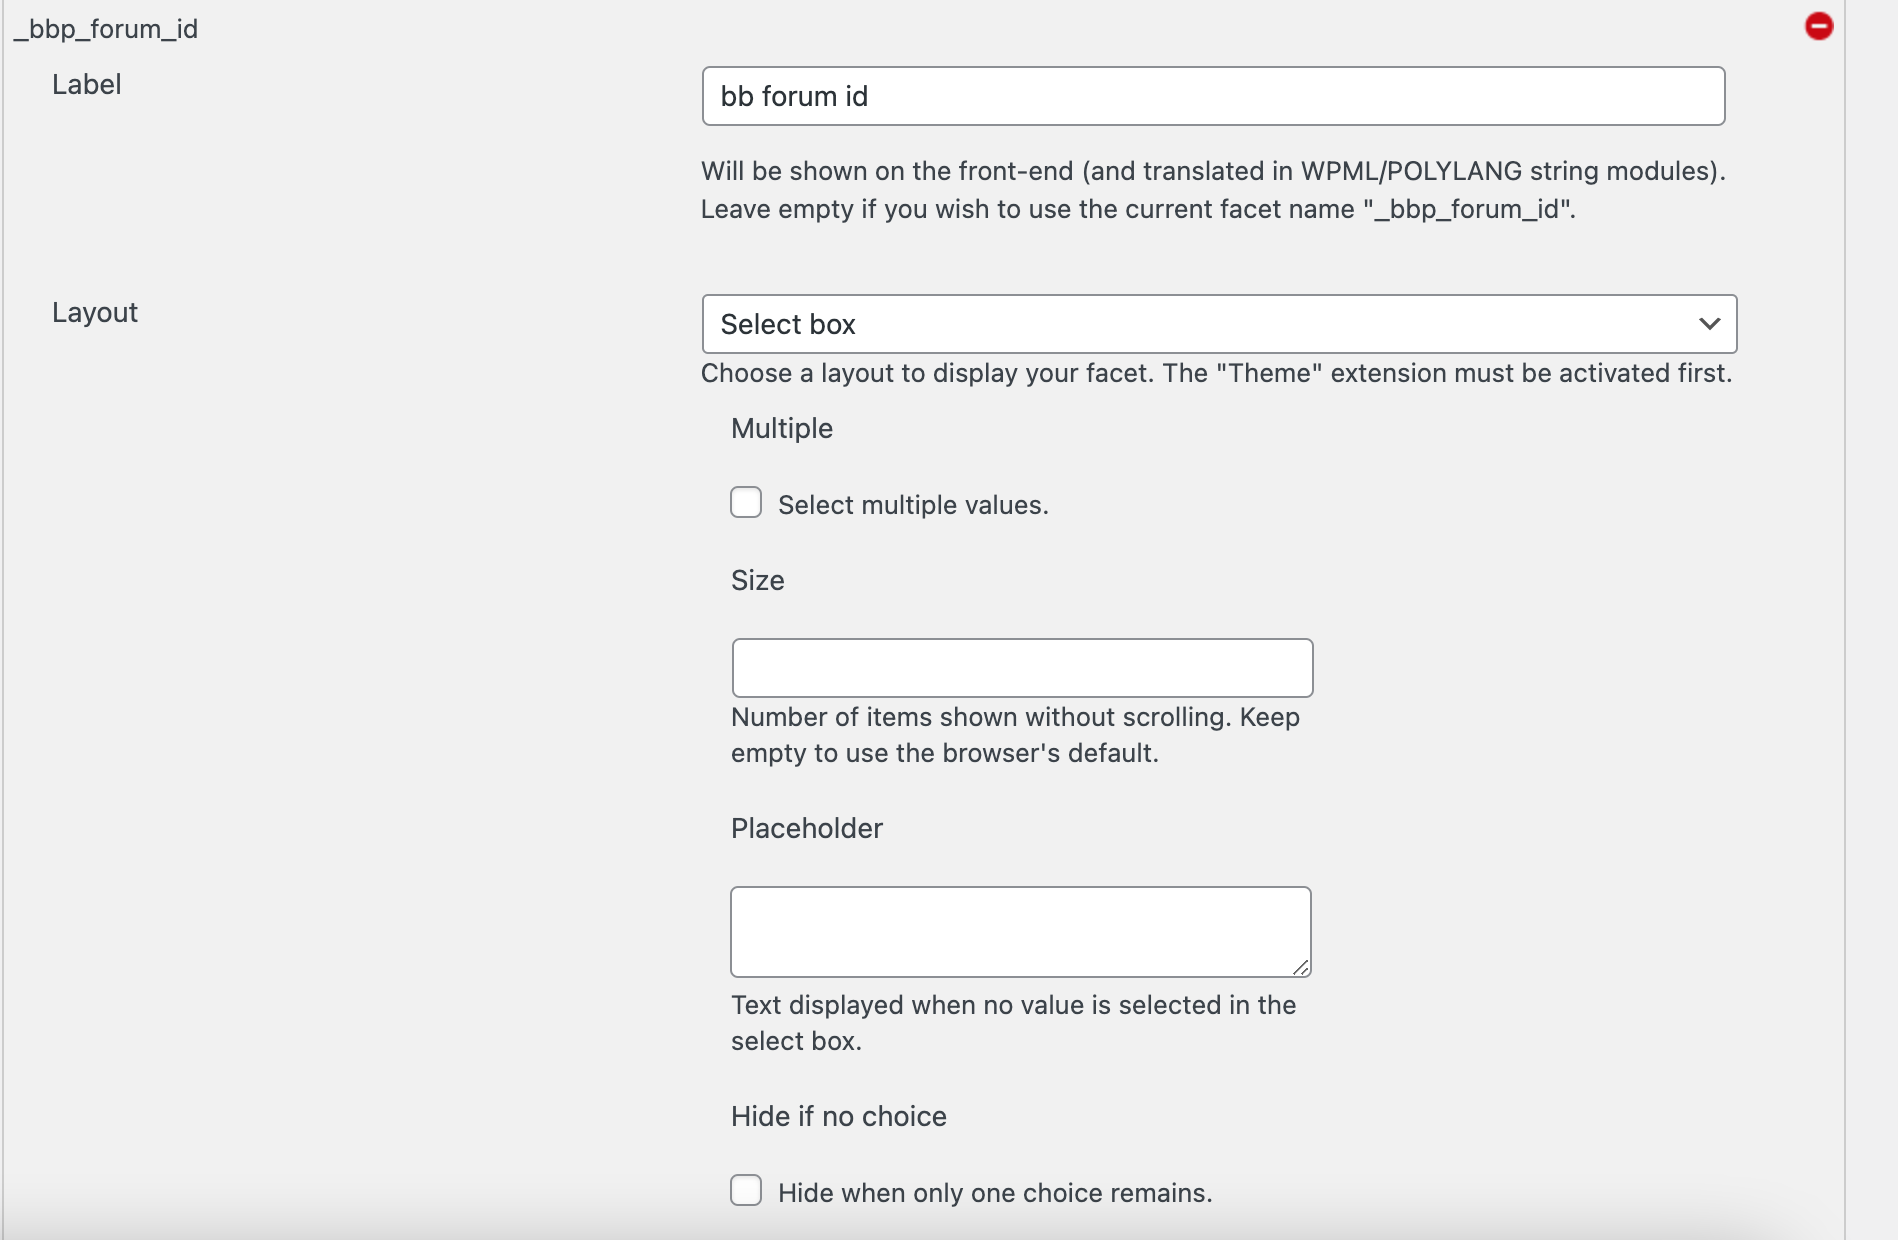
Then Choose a label for these fields and pick a layout. I picked the “Select box” layout. Save and index the content.
Create a WPSOLR index

Click on “Connect your indexes” in the menu bar at the top in the WPSOLR admin area.

Then click on “Connect to your search server or search service”.
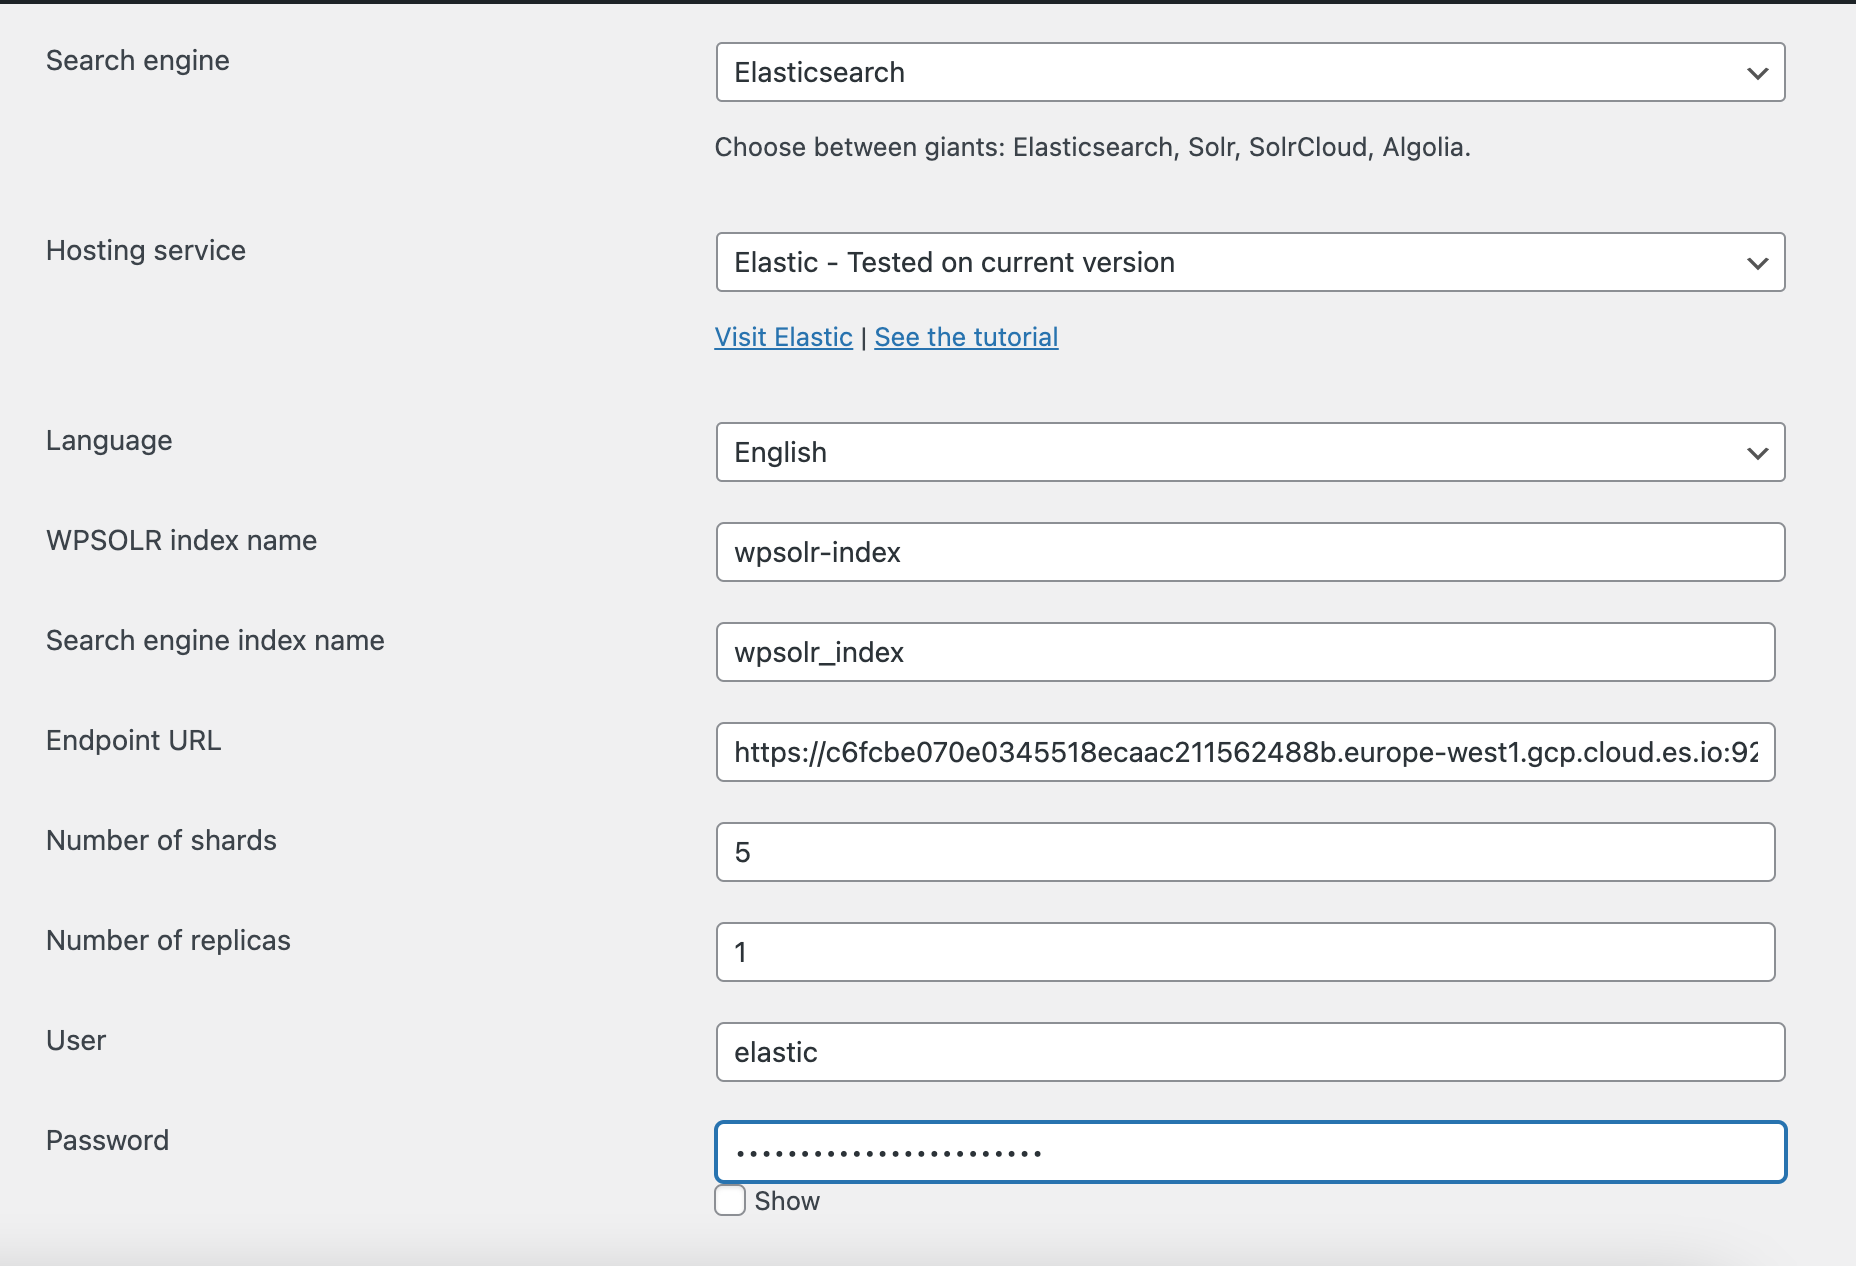
Then choose a search engine, a hosting service, the language and a WPSOLR index name. Choose the search engine index name as well and enter the Endpoint URL that the search engine service has provided you. Leave the default number of shards and replicas iff you’re not sure how much you need. Finally, fill in the user and password you received with your endpoint url.
Add the bbPress add-on
Click on “Activate extensions”.
Click on “bbPress” in the sidebar.
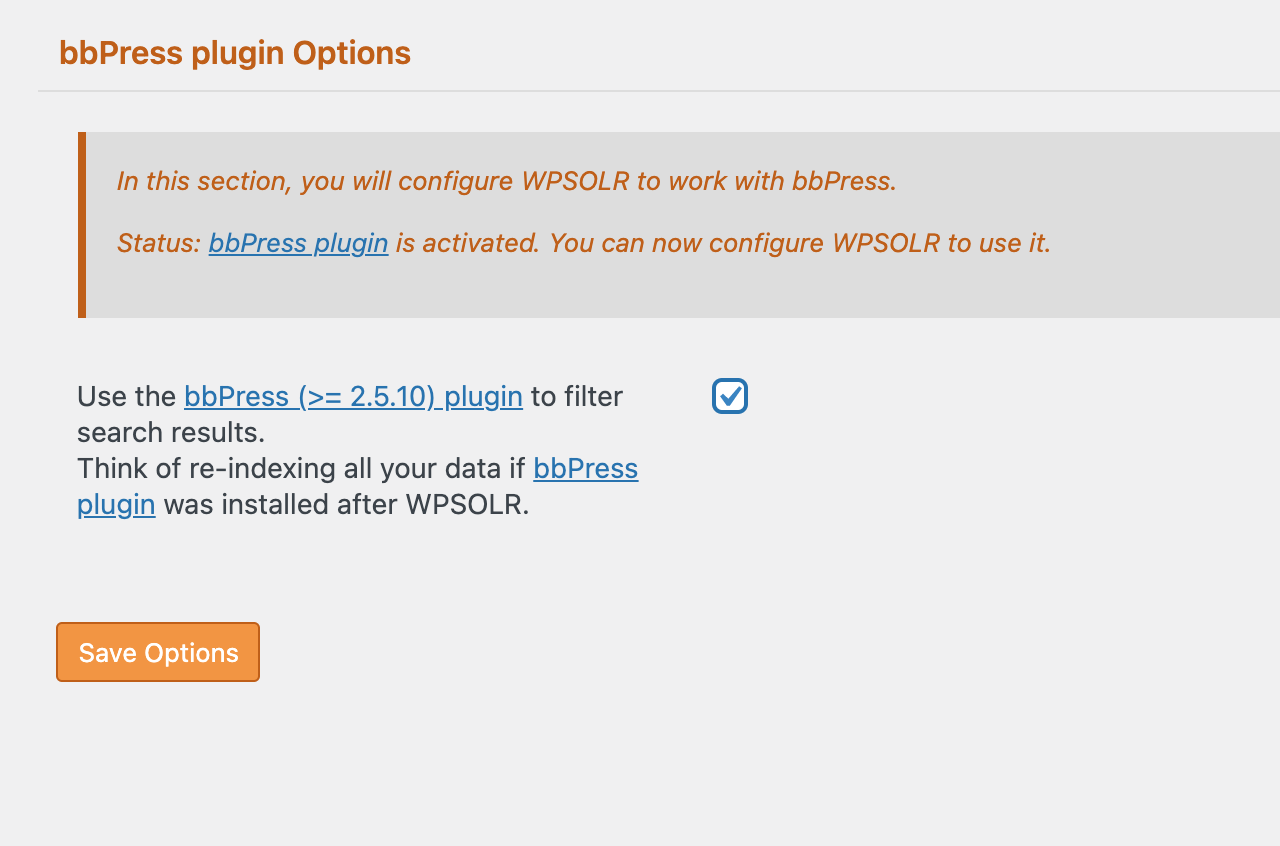
Then select the first checkbox and save to activate the add-on. Activating the bbPress add-on is important because without it we could not search bbPress content on the website like forum and topics.


here is what happens when I click on a suggestion when the bbPress add-on is deactivated. It leads me to a product and not the bbPress topic I created earlier.
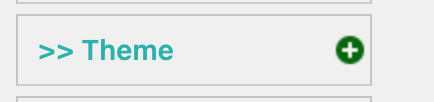
Then click on “Theme” in the sidebar.
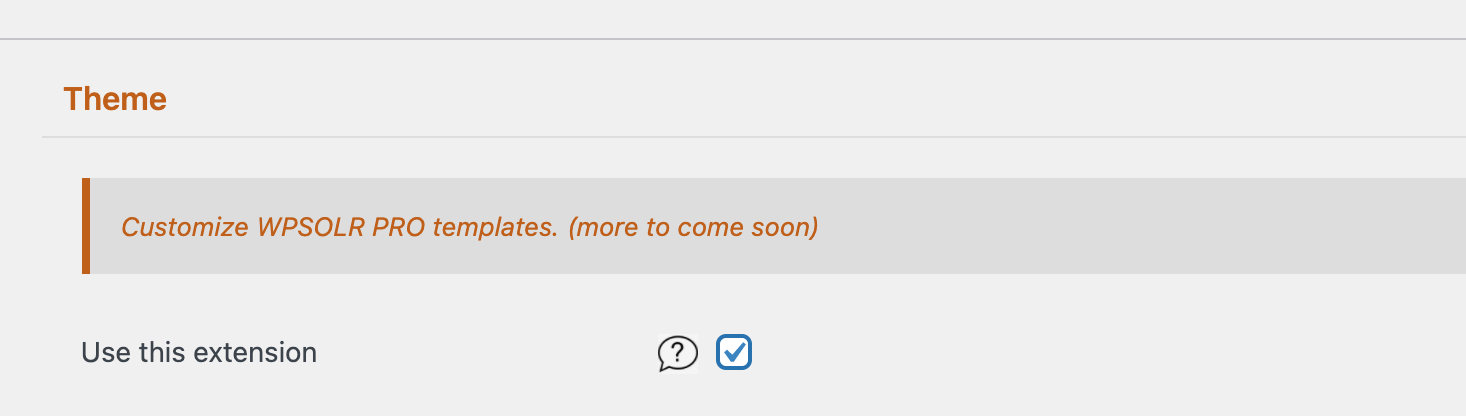
Click on the first checkbox. This add-on is important if you want to have more options in the type of layout available when installing the filters.
Configure WPSOLR
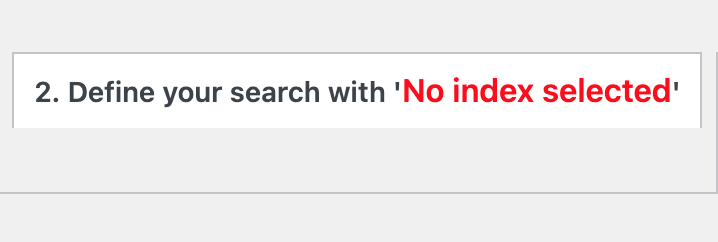
Click on “Define your search”.
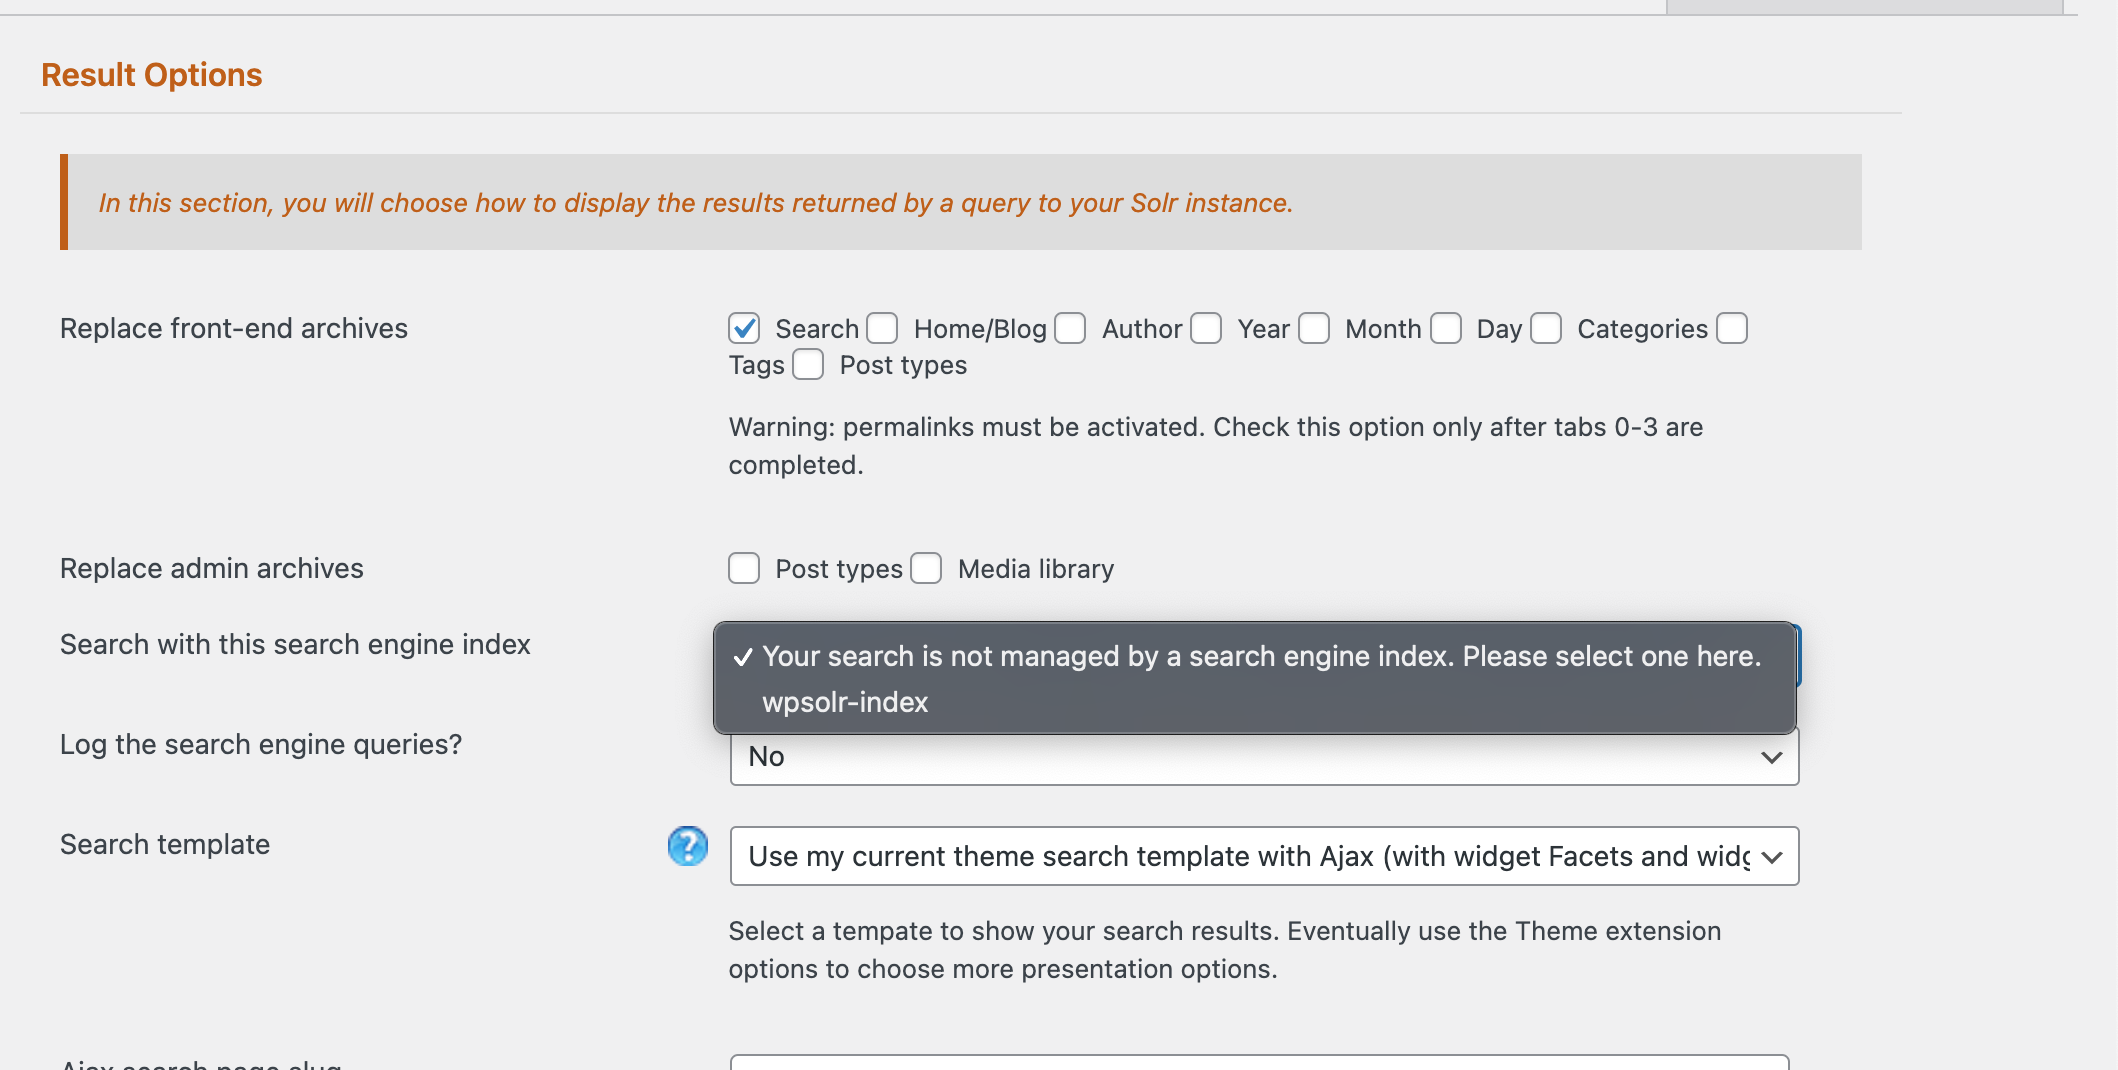
Then select the “Search” checkbox and select the search index we created earlier. When you’re done save.
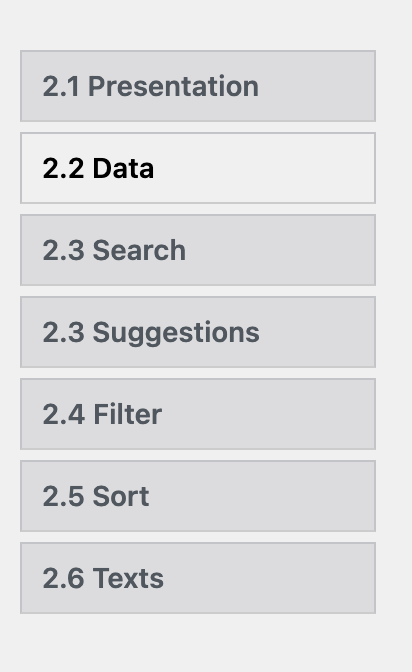
Click on “Data” in the sidebar.
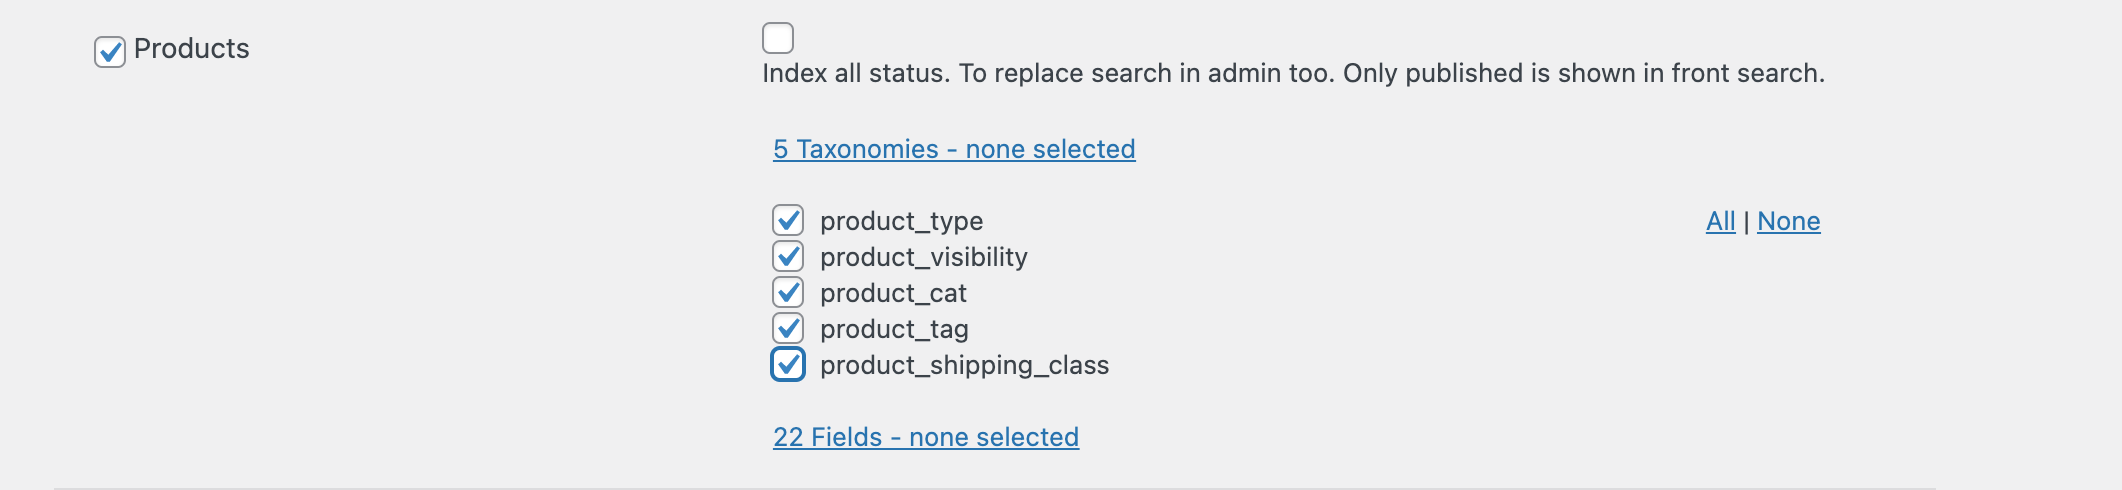
Then click on the data you want to search in. Here I chose “Products”. Then select the taxonomies you want.
Then select the fields you want. You can also choose the type of the field. I decided to use floating point number on the price field and the integer number on the stock field because I will use them as sliders. Since stock status is going to be a checkbox, I left the text field type.
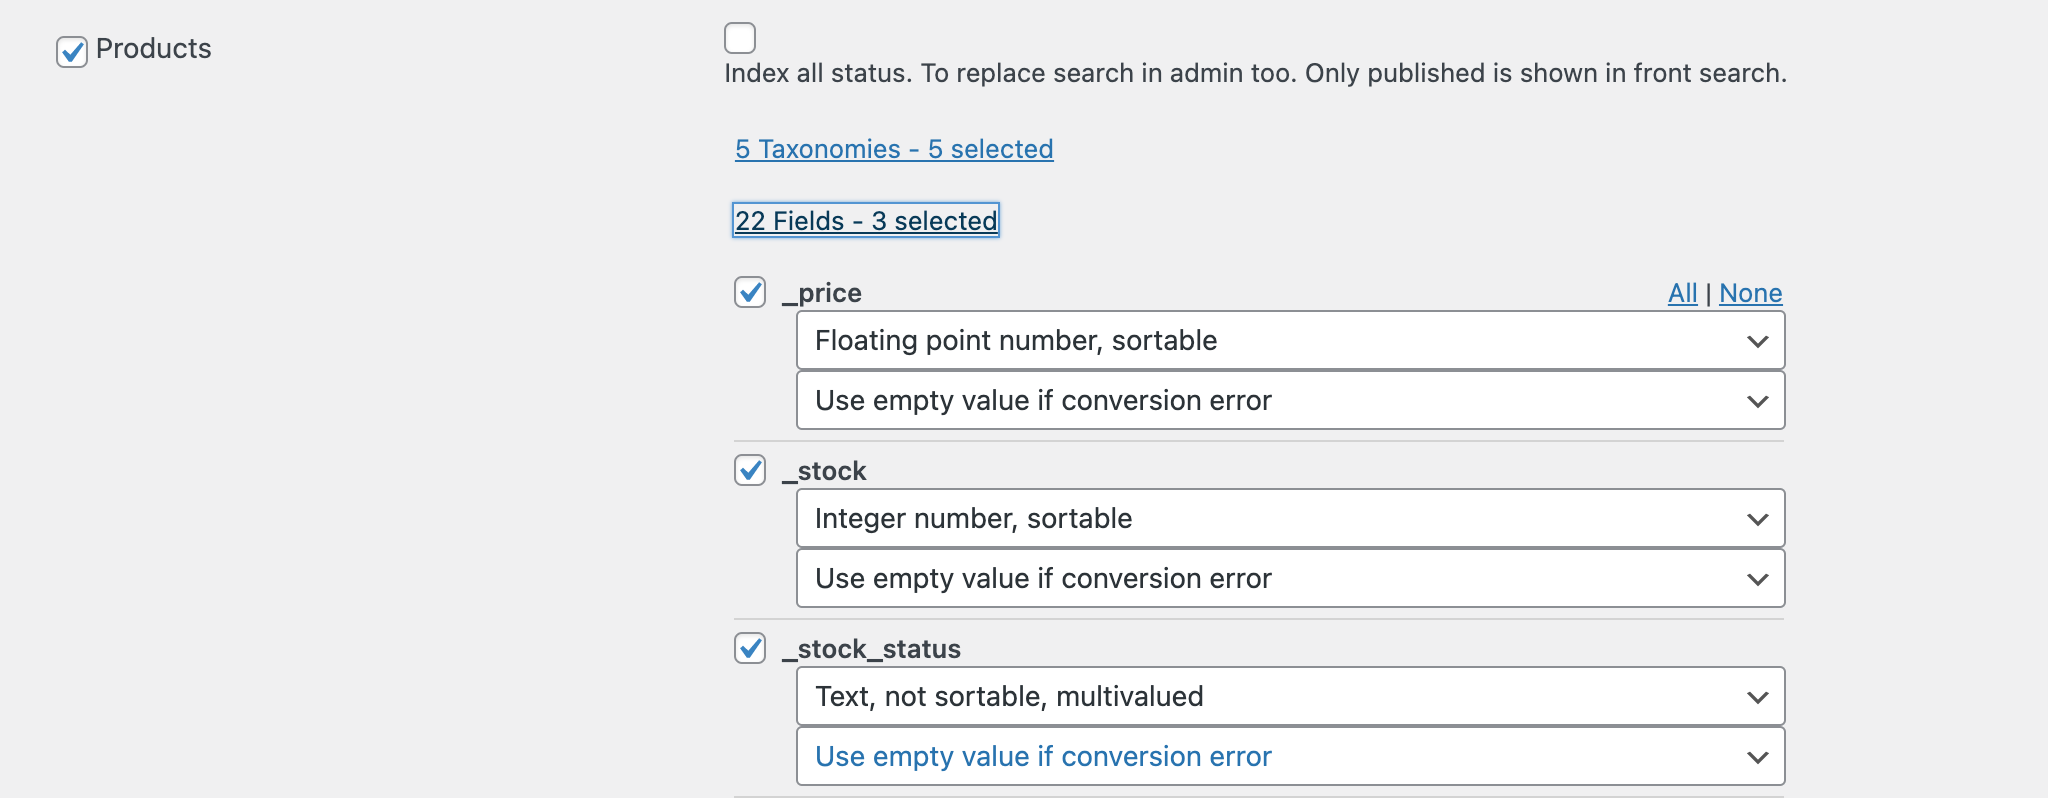
Then click on “Suggestions” in the sidebar.
Click on “Configure new suggestions”
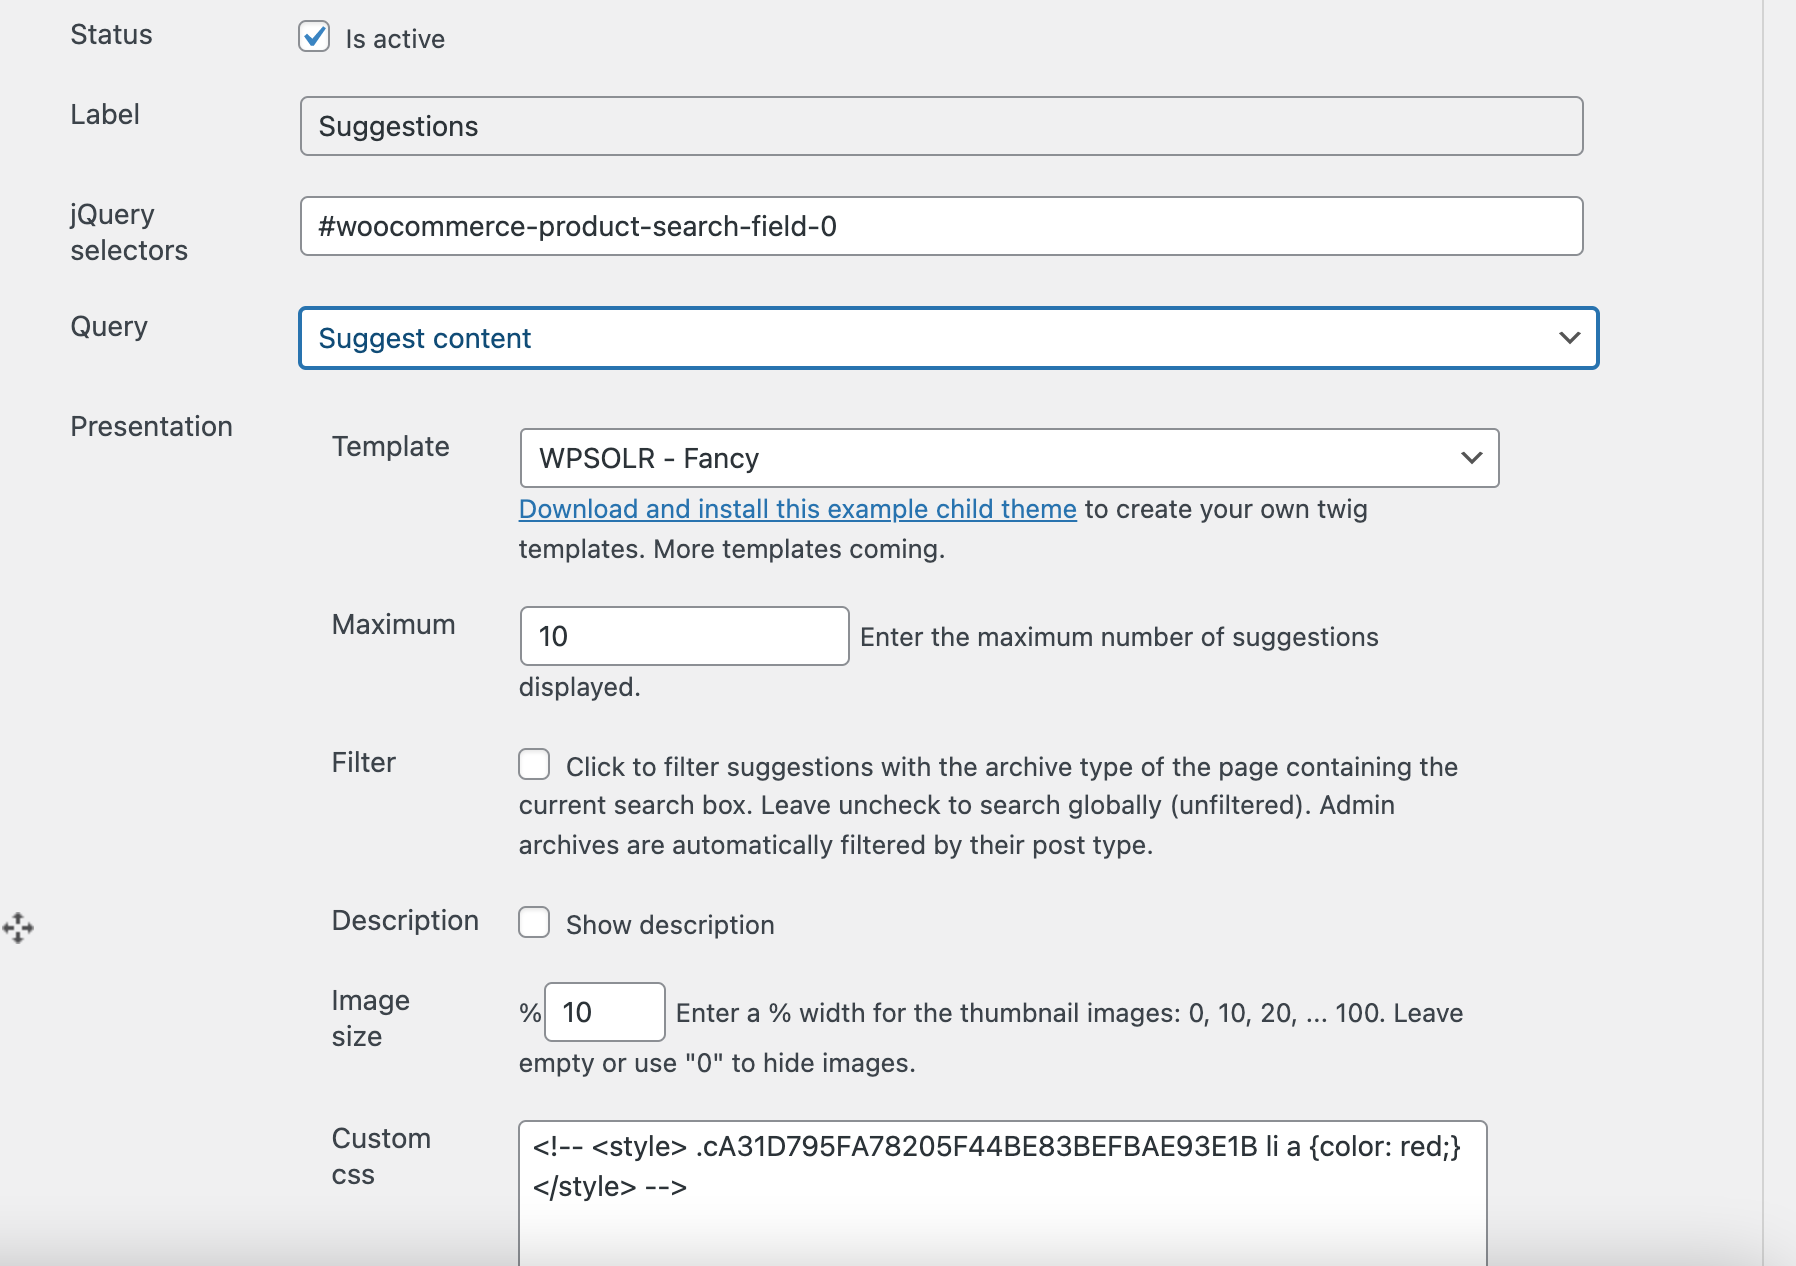
Then fill in the fields. Click on the checkbox to activate the suggestions. Choose a label then fill in the jquery selectors. I will show you how to find out the jquery selector after. suggest a query. Then fill in the following fields. Here I chose to use the default options.

To get the jQuery id head to the front part of the website and select the search box you want the suggestions to apply to.
![]()
Then copy the id.
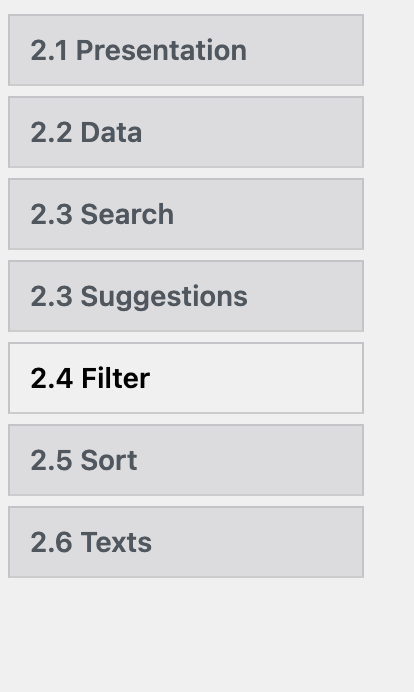
Click on “Filter” in the sidebar.

Select the filters you would like to use, then save.
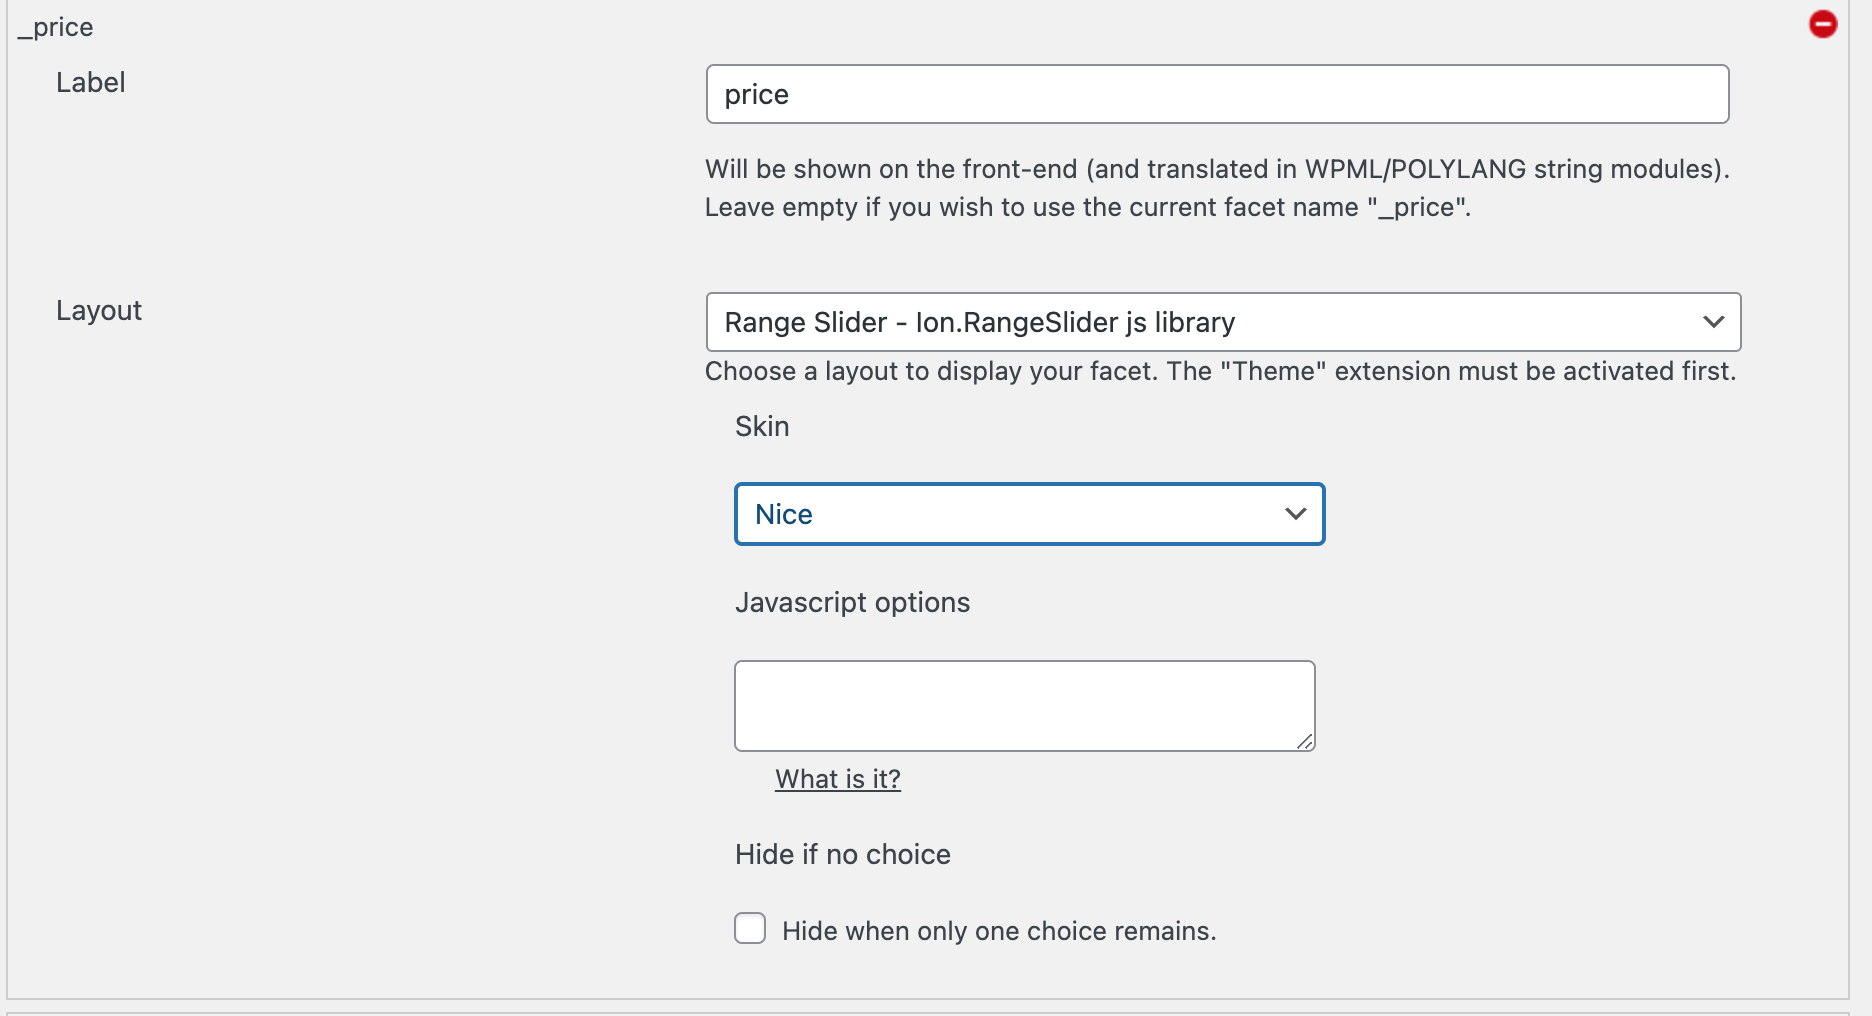
You can now modify these filters. Choose a label and a layout. I chose the “Range slider” layout. This layout will not be available if you have not activated the “Theme extension” in the previous section. Choose a skin for the filter as well. This will determine the to sliders appearance.
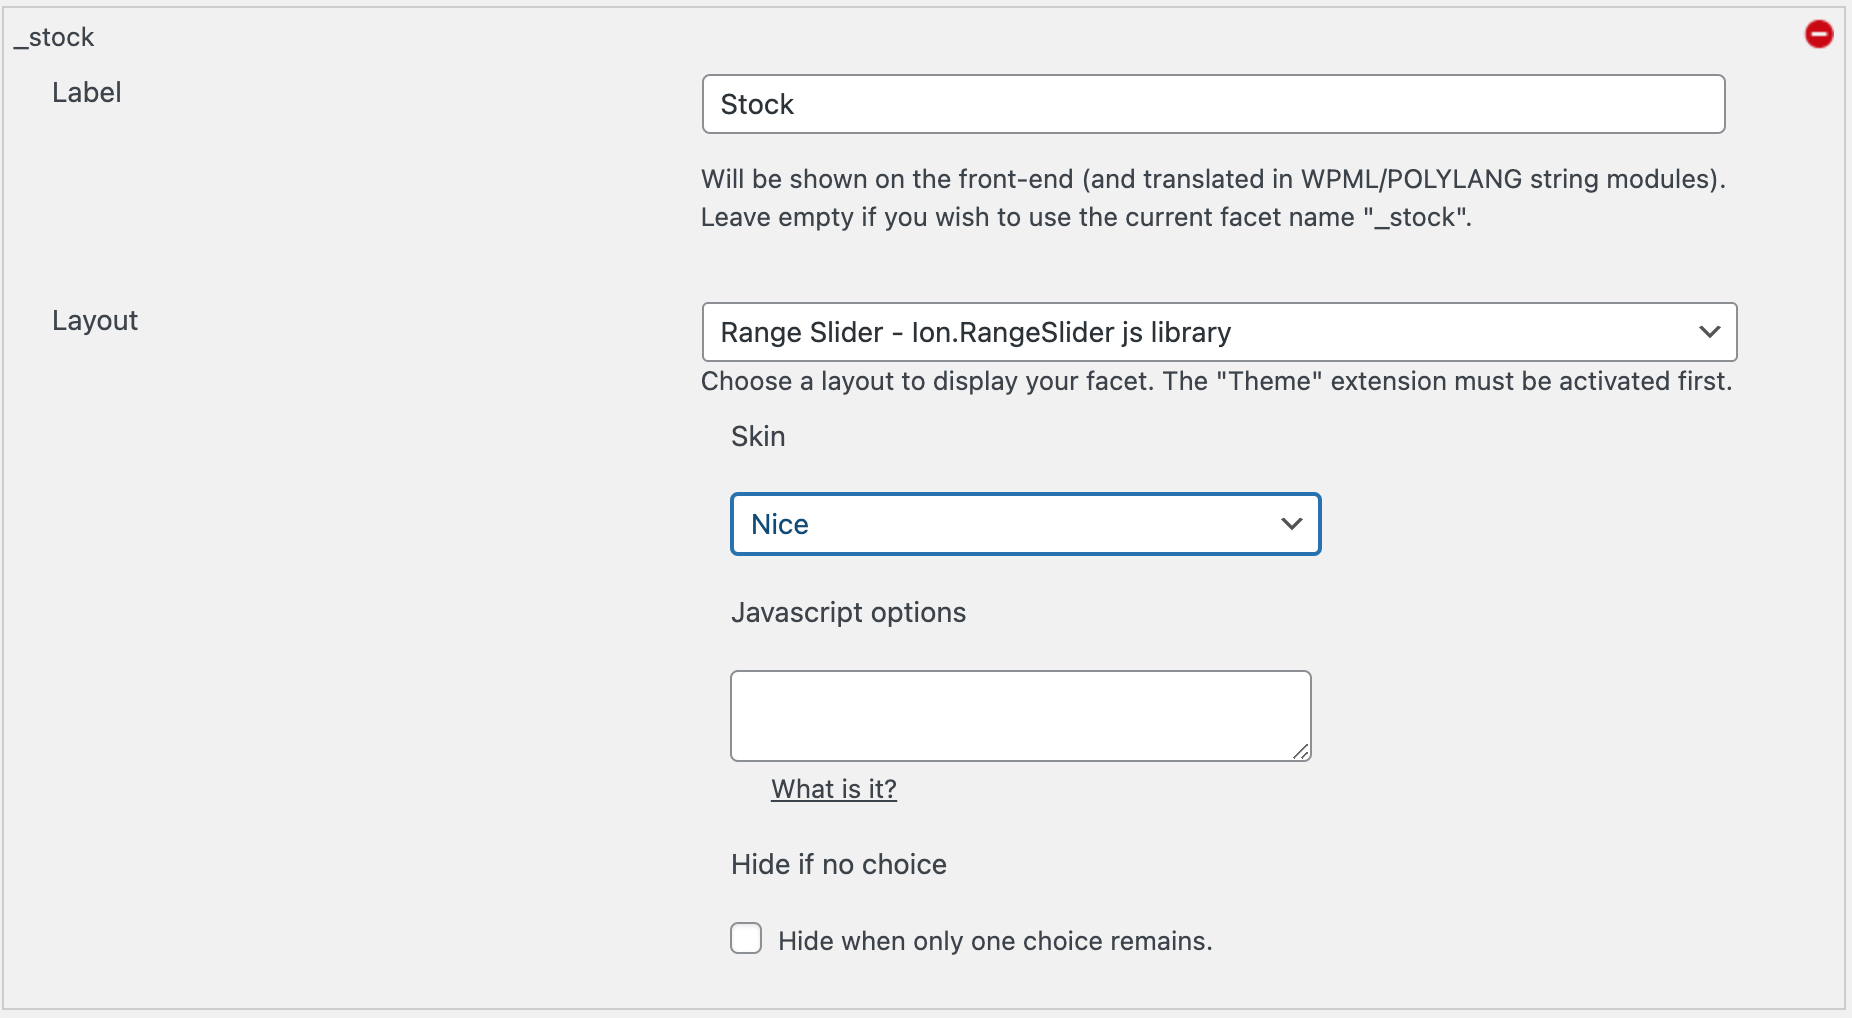
Fill in the same fields for the stock filter. I decided to use the range slider a second time here.
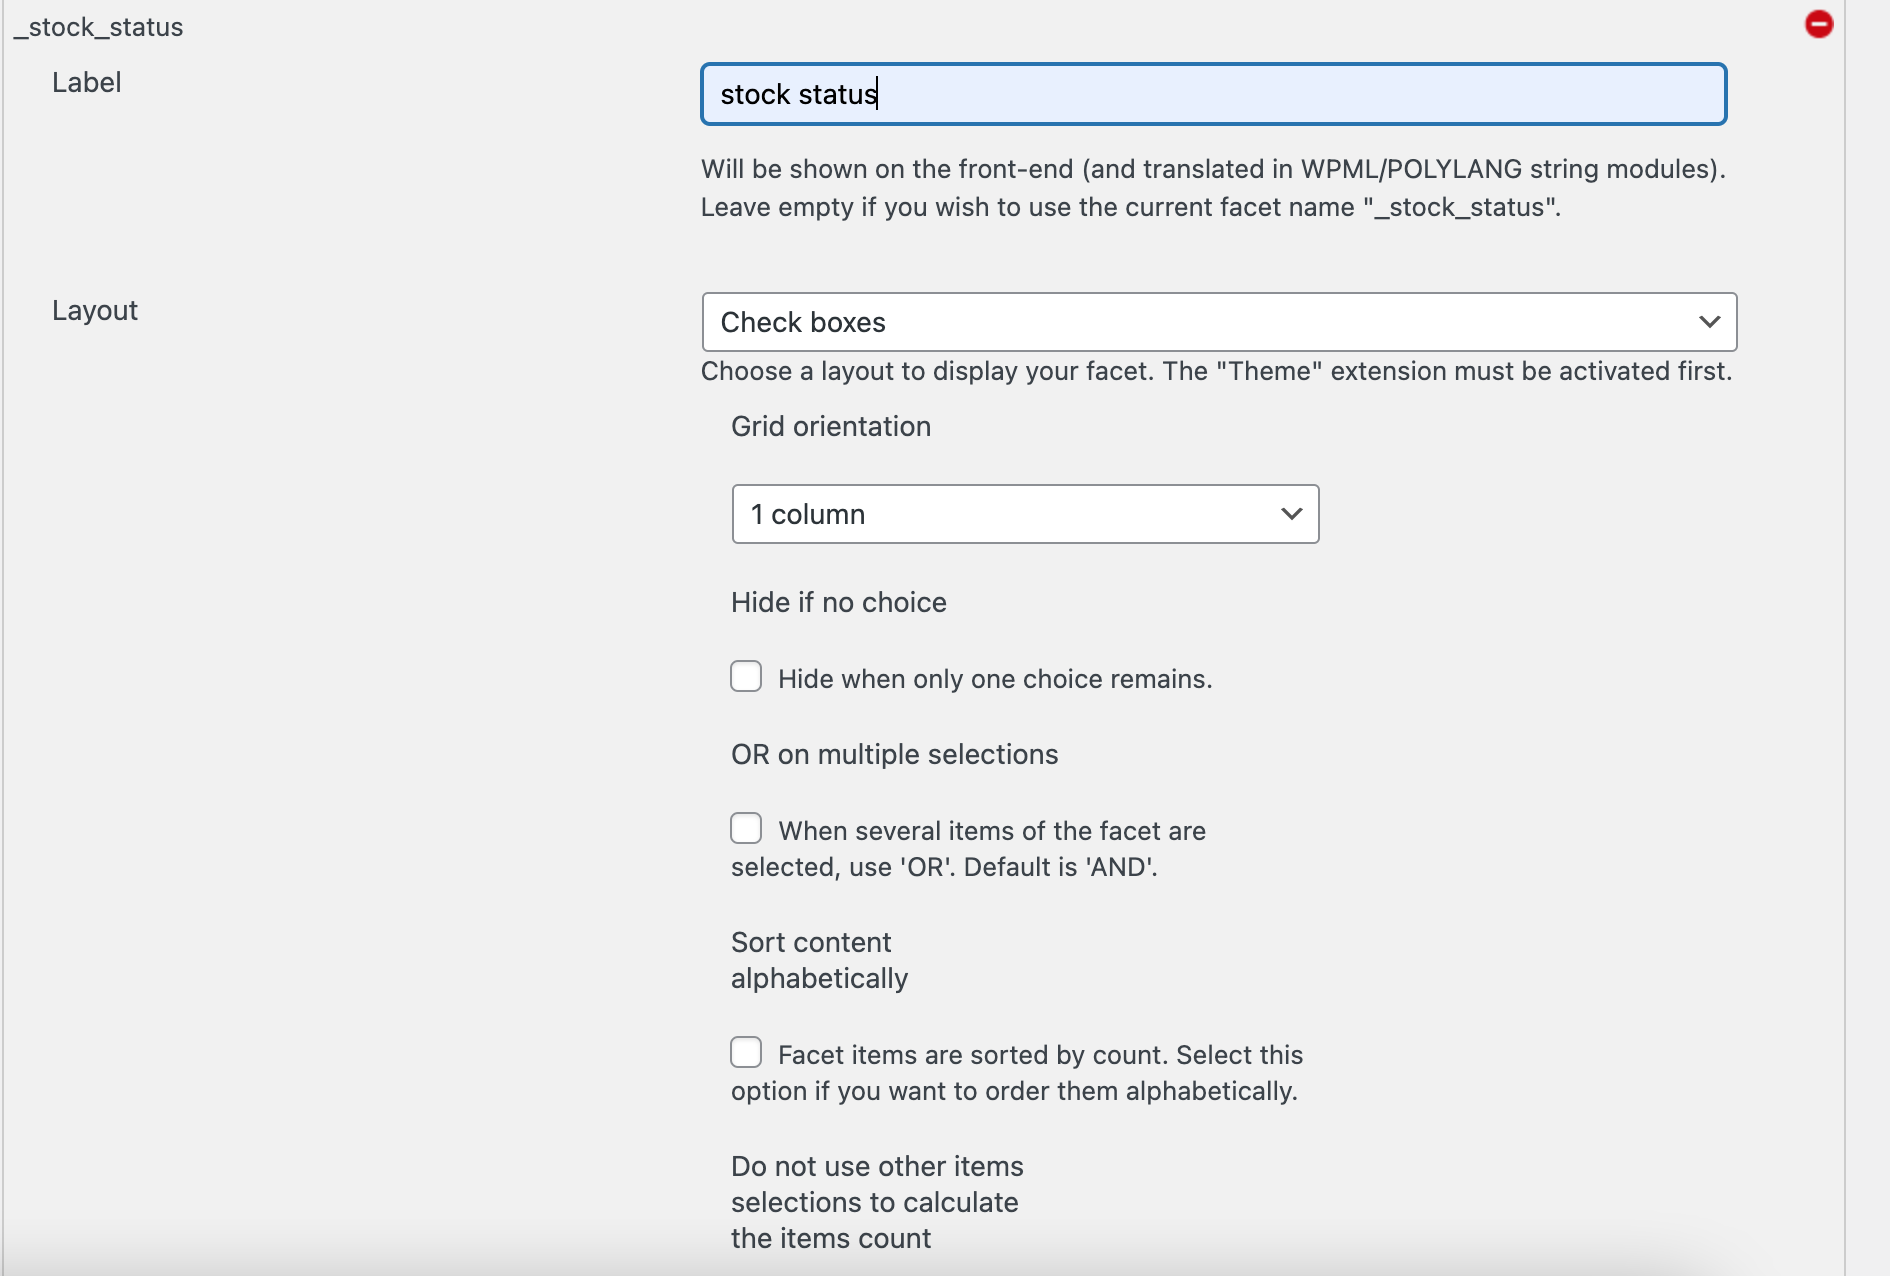
Then scroll down and enter a label for the stock status filter. I chose the “Check boxes” layout this time. Then scroll down.

Click on the “Override each item label”.
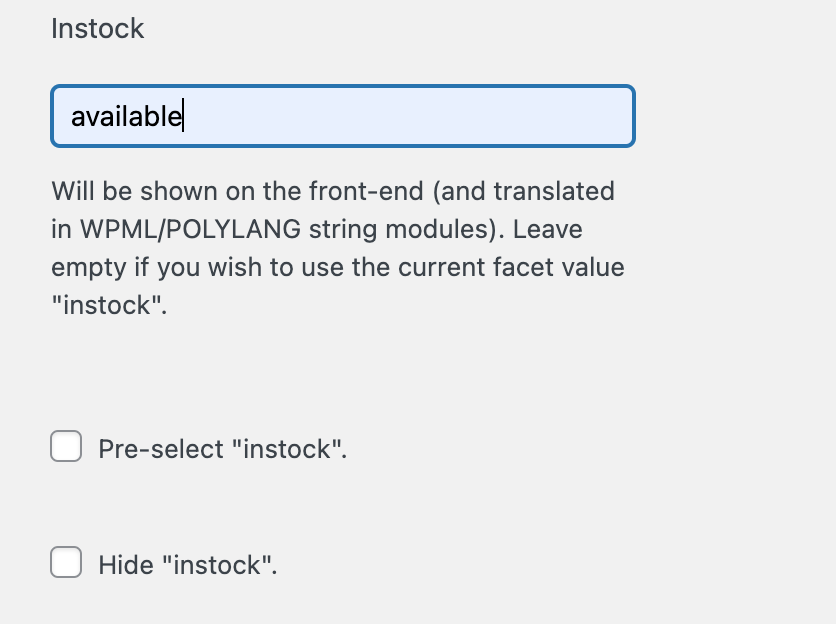
Then fill in the field. This will be the title displayed next to the checkbox. Here I chose to call it “available”.
Index the content
Click on “Send your data” in the menu bar.
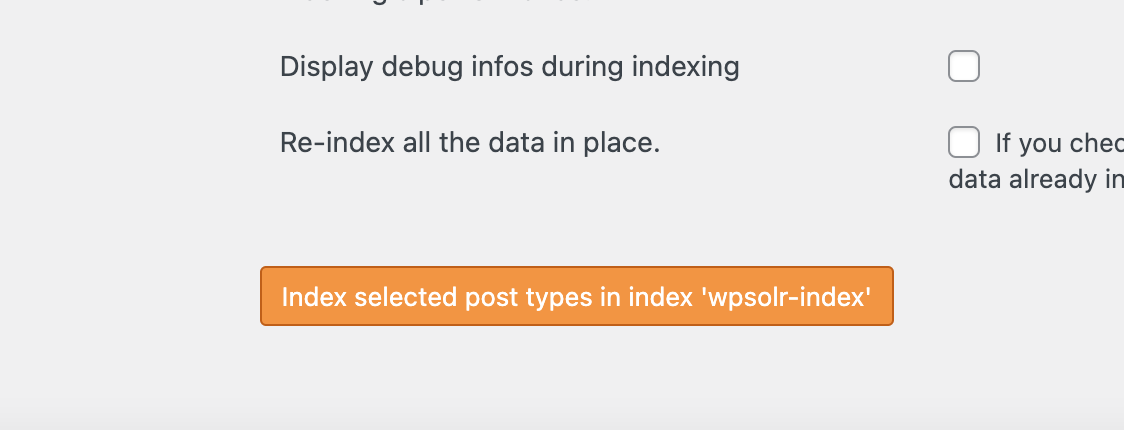
Then click on “Index selected post types in index”. This will index our products.
Add the WPSOLR facet widget
![]()
Click on Customize on the frontend side of your website.
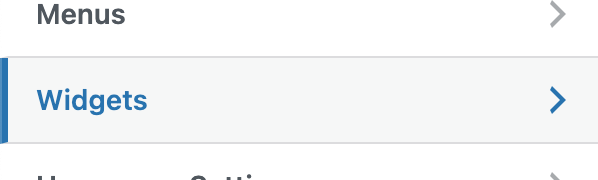
Click on “Widgets”.
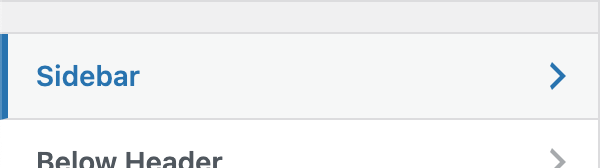
Then click on “Sidebar”.
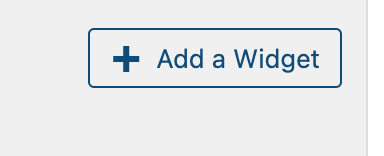
Click on “Add a Widget”.

Then type in “WPSOLR Facets”. Select it then leave the default settings and publish the changes.
Test website search

This is what search return to us by using WPSOLR without the bbPress add-on activated. We can see the WPSOLR facets have been added correctly. Now if we activate the add-on, we will not see the products


As you can see suggestions are also working. Here a bbPress topic is recommended to me as well as its post. But you should know that if you use the bbPress add-on, normal search will not work. You won’t be able to search products or any other content that is not related to bbPress.