Setup WPSOLR and ObjectRocket
From WPSOLR 21.4.
This video suppose you already have an account at ObjectRocket.
You will see how to create an ObjectRocket index with a few clicks.
What is ObjectRocket?
ObjectRocket is a service to host Elasticsearch indexes, among others. Rather than installing Elasticsearch on your own servers, you get a subscription and let the service manage your indexes on your behalf. No need of manpower, or servers, anymore.
Here is the video tutorial:
1 – Signup for a free trial at ObjectRocket
2 – Navigate to your ObjectRocket dashboard
3 – Create your first ObjectRocket cluster

3.1 – Activate trial
3.2 – Set a name for your cluster
3.3 Select a type (of nodes/VMs)
3.4 Select a region (where your nodes/VMs are)
3.5 Select the Elasticsearch version
3.6 Create the cluster

Wait a few moments, until your cluster is ready to accept your first index.

3.7 Copy the cluster public url (to paste in WPSOLR index admin)

3.8 Generate an ACL/IP
Create an ACL to let your WordPress site access the cluster:

Done:

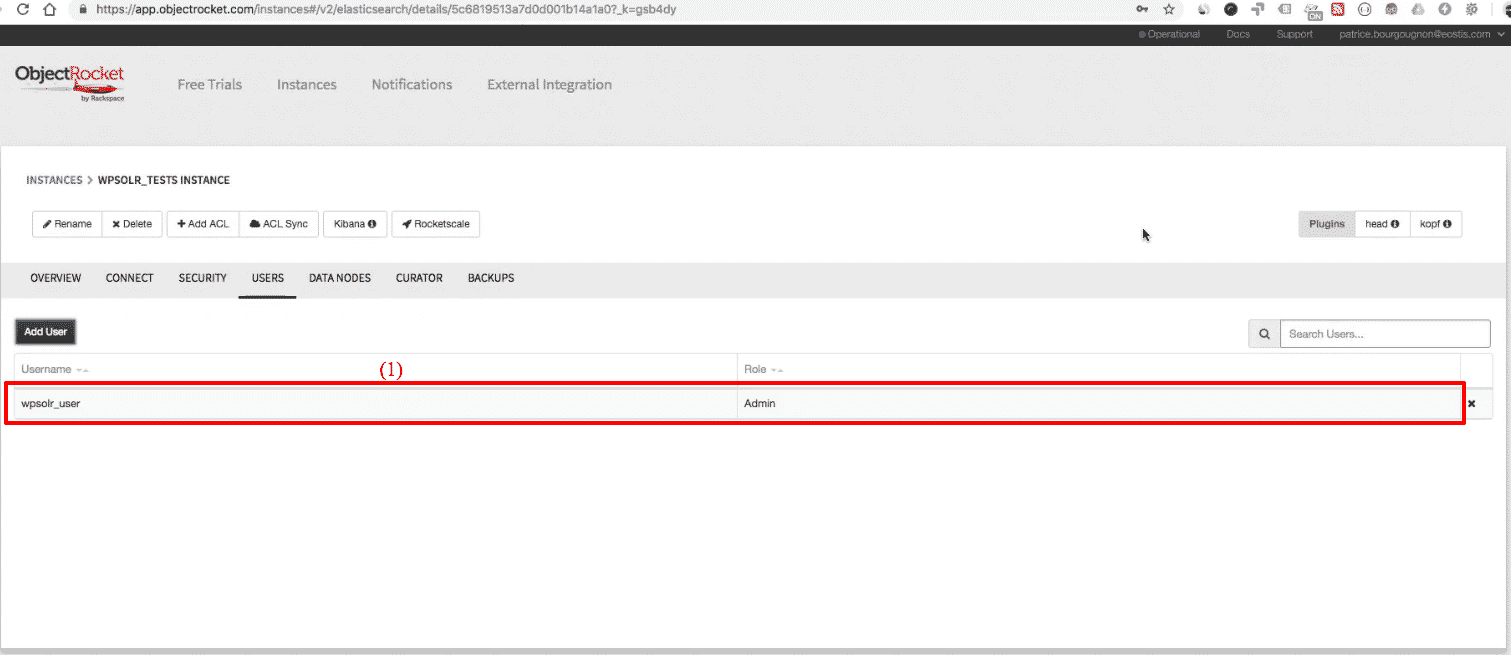
3.9 Generate a cluster user/password (to paste in WPSOLR index admin)
Create a user/password with role “admin”:

Done:
4 – Create the ObjectRocket Elasticsearch index from WPSOLR admin
4.1 The WPSOLR new index form

- (1), (2), then (3) to edit a new index
- (4) Select “Elasticsearch” among index types
- (5) Select “ObjectRocket” among Hosting Services
- (6) Set a name for you index, visible in WPSOLR admin
- (7) Set a name for your index, visible in ObjectRocket Kibana admin (only letters and “_”, no whitespaces)
- (8) Paste the ObjectRocket public url copied from the ObjectRocket console:
ObjectRocket Elasticsearch: cluster public url - (10) Past username
ObjectRocket Elasticsearch: cluster user ready - (11) Past password
- (12) Create the index. Done!

ObjectRocket Elasticsearch: index created
4.2 Index your data
